
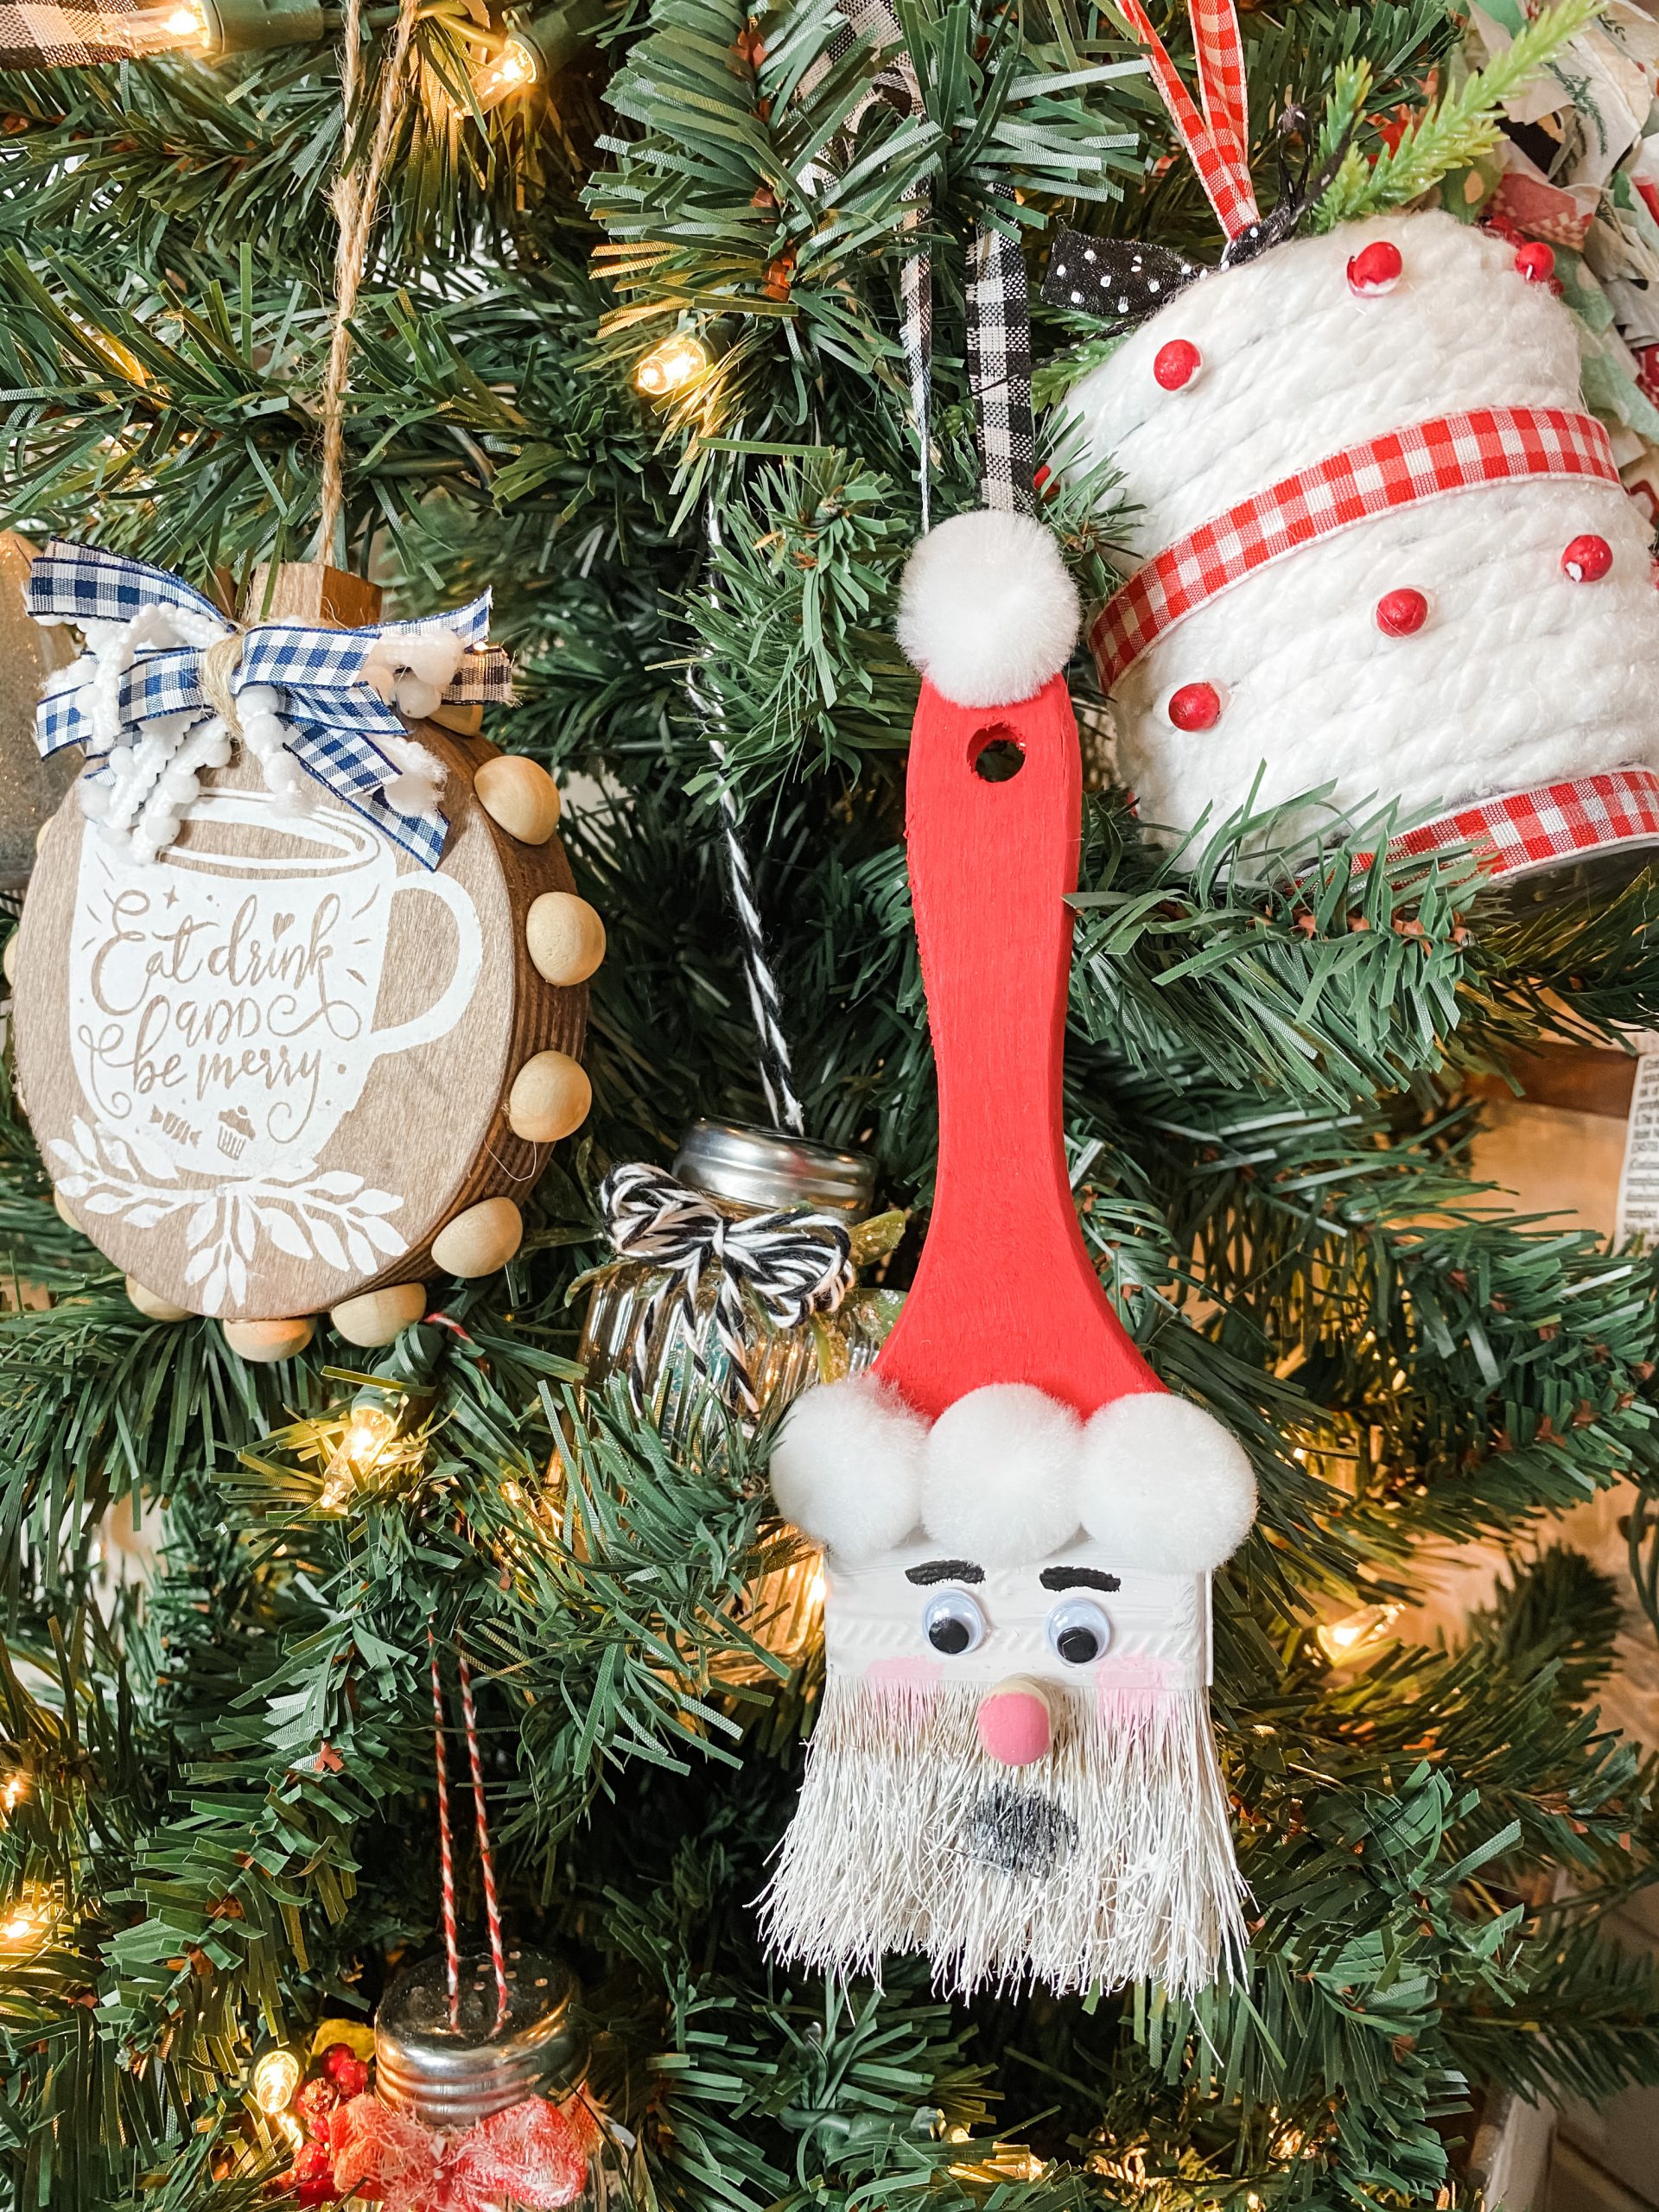
Looking to add a personal touch to your holiday decor? DIY Christmas ornaments are a wonderful way to fill your tree with handmade charm. This article shares 23 creative ornament ideas, from farmhouse paintbrush Santas to elegant beaded teardrops, all designed for easy crafting at home this season.
With these projects, each focuses on a single hero ornament, kept simple to let the handmade details shine. Whether you prefer rustic fabric, paper stars, or natural materials, you will find inspiration for every style. Gather basic supplies and enjoy making ornaments that feel truly yours.
Farmhouse Charm: Paint Brush Santa and Gingham Ribbon Ornaments
There’s something about a paint brush Santa that just feels right. In a farmhouse living room lit by warm white string lights, this whimsical hero ornament anchors the tree with character. Pair it with red and white gingham ribbon for classic farmhouse charm. The key is letting one standout piece set the tone while keeping the rest of the tree simple. That paint brush Santa becomes the visual anchor, making the whole tree feel intentional and gathered.
Rustic Fabric Tree Ornaments for a Cozy Christmas
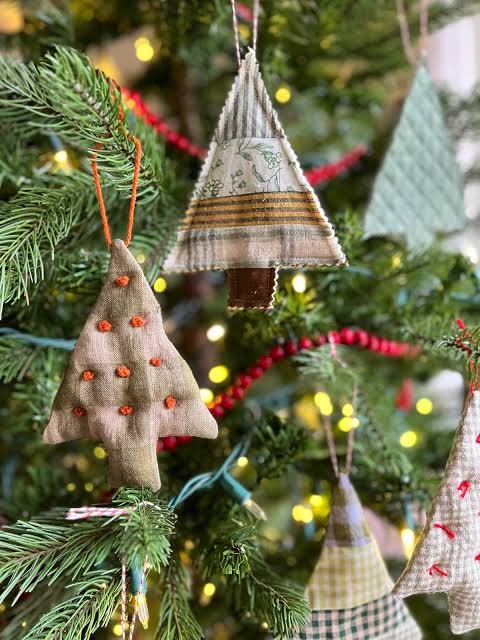
These fabric tree ornaments are the kind of handmade touch that makes a tree feel lived in. I remember sitting with my grandmother, cutting strips of worn flannel for ornaments just like these. The mix of green, brown, cream, yellow, and red fabrics, paired with twine and wood beads, creates a palette that feels both collected and intentional. In soft daylight with a bokeh glow, the varied textures catch light differently. The principle here is that a warm, earthy palette unifies mismatched patterns. That’s what gives this tree its cozy, handcrafted soul.
Book Page and Cardstock Star Ornaments
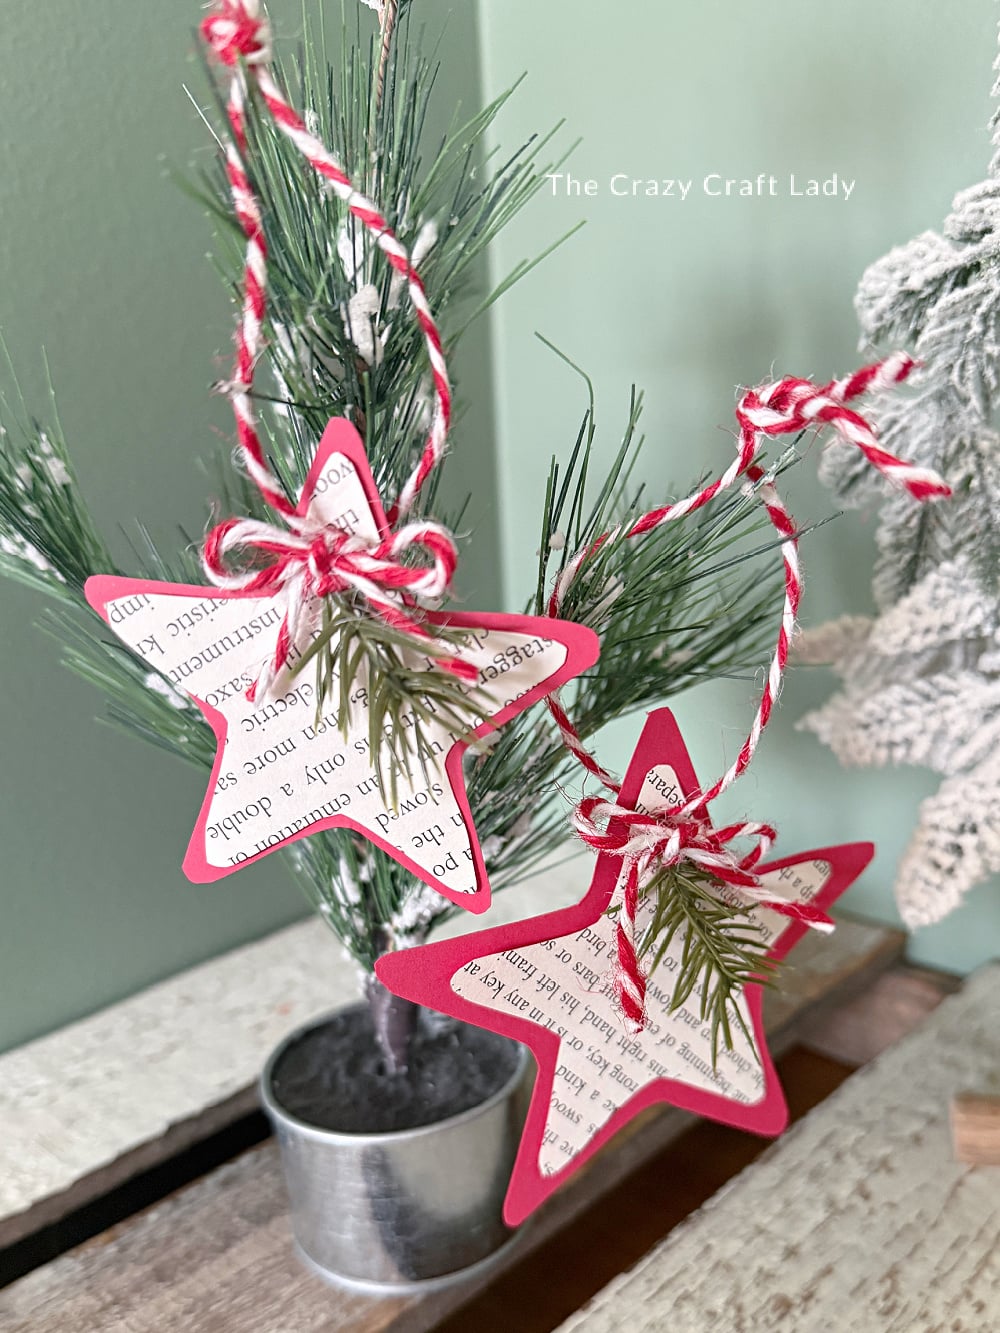
The trick with book page ornaments is keeping them from looking like homework. The common mistake is using paper so thin the star folds lose their crisp edges. People often grab the first old book they see, not realizing the pages are too soft to hold a shape. Instead, start with cardstock as a base, then glue book pages on top for a sturdy but vintage texture.
Pair the finished stars with natural twine and fresh pine sprigs in red and green. This contrast keeps the paper from feeling too flat. Soft daylight hitting the text adds warmth without glare. The principle: reinforce delicate materials with a hidden layer, so the rustic look lasts beyond one season. Dodge the sag by building sturdiness from the inside out.
Modern Minimalist Honeycomb Paper Ornaments
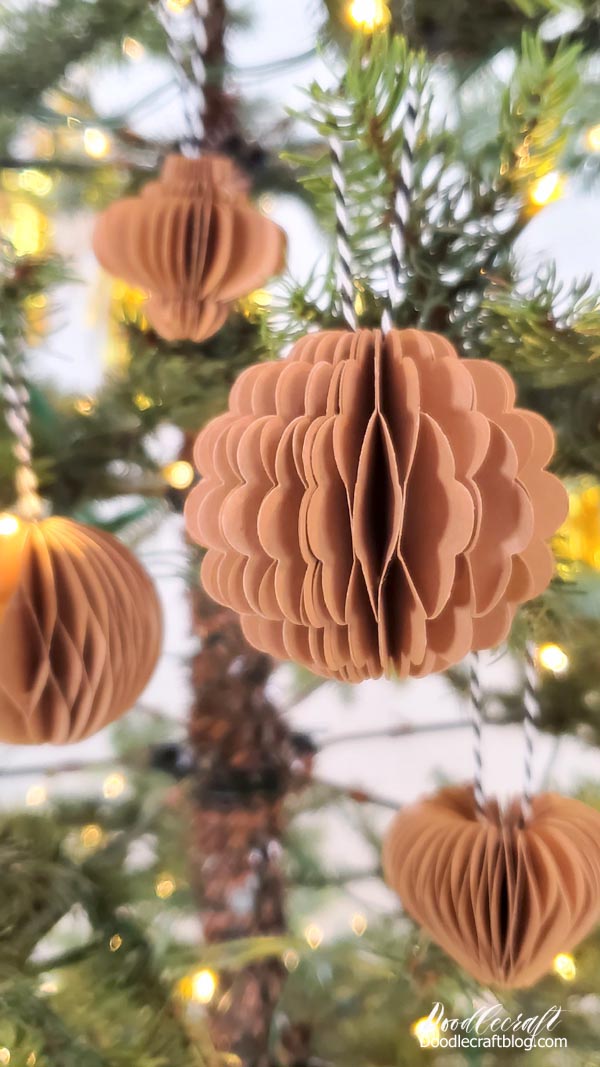
Why choose honeycomb paper over traditional glass baubles? Glass offers mirror-like shine, but honeycomb brings texture and warmth that invites touch. In a modern minimalist tree, the kraft paper brown and gold palette feels organic and calm. Soft bokeh lights catch the intricate folds, making the paper glow from within. For a tree that whispers instead of shouts, honeycomb edges out glass every time.
Natural Felt Ornament with Faux Berries and Leaves
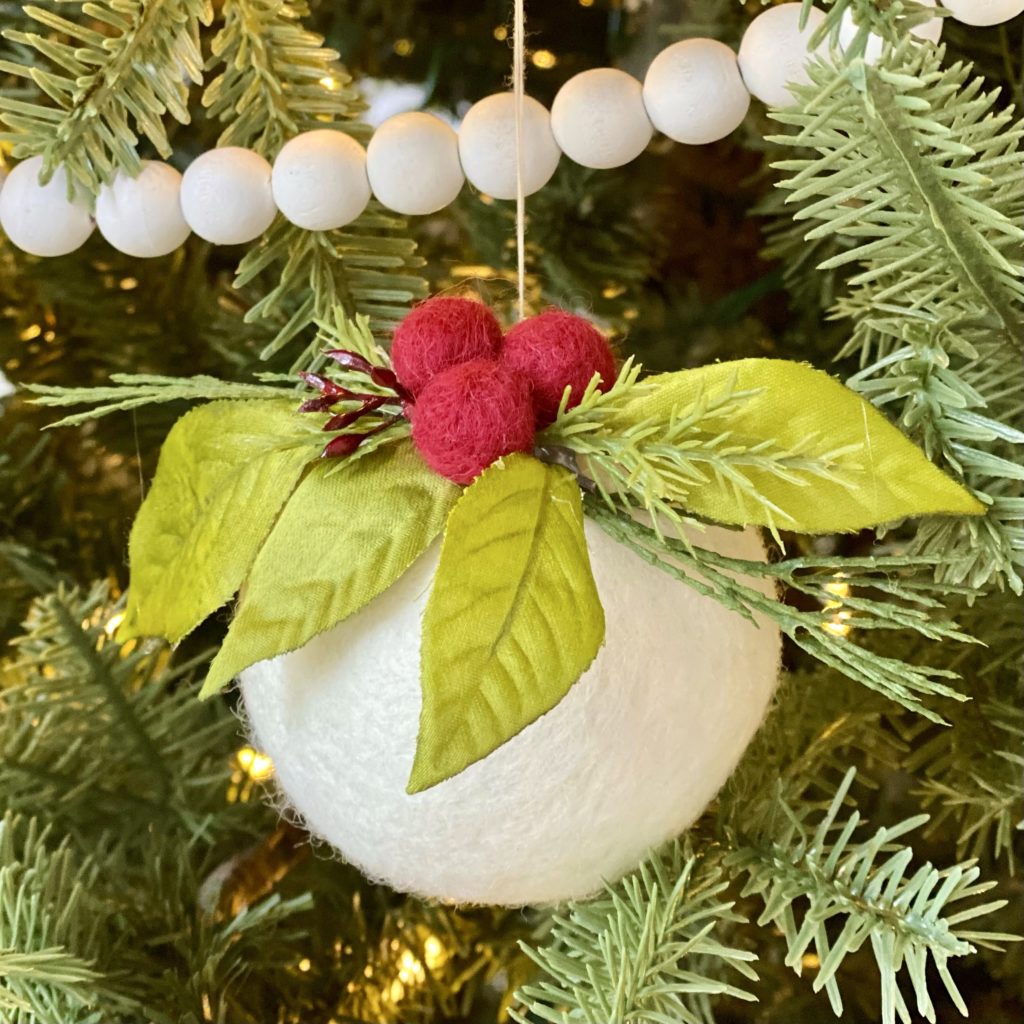
I’ll admit, I’m picky about felt ornaments. Too many look like craft project leftovers. But these white felt ornaments with faux red berries and green leaves hit the sweet spot between homemade and intentional. The wooden beads add just enough weight so they hang straight. This look flatters natural rustic trees with lots of handmade elements and soft daylight. Skip it if you lean formal or shiny — the soft matte finish will feel out of place. The palette of white, green, and red is classic, but felt’s texture keeps it from being saccharine. For a cozy, touchable tree, these are a yes.
Whimsical Paper Angel Ornament with Patterned Wings
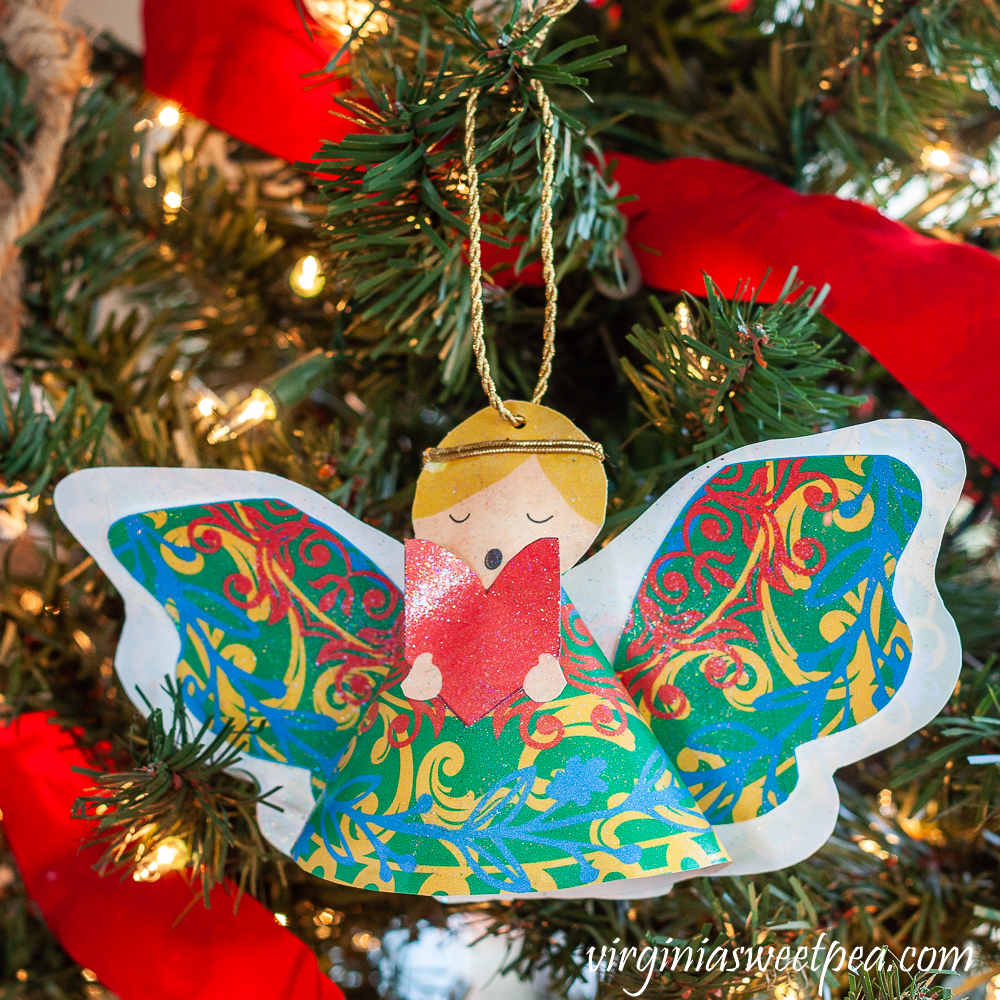
A paper angel lands on the branch like it flew there on its own. The wings use patterned paper in red, green, blue, and gold, which keeps the ornament from looking flat or precious. A red heart accent anchors the body so the wing pattern does not compete with itself. Gold cord is the right hang; it catches the fairy light glow without adding weight the paper cannot carry. The design leans into the paper angel Christmas ornament DIY tradition but with enough graphic punch to read from across the room. Style mode here: the angel is the hero element, so keep the branch around it simple. Skip tinsel or dense baubles nearby and let the wing pattern do the work.
Graphic Thread Ornaments with Radial Patterns
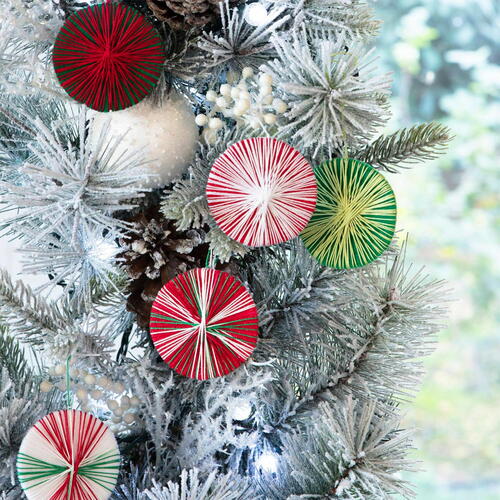
Your first thought when you see these wrapped thread Christmas ornaments is that they took forever. They did not. The radial pattern comes from winding thread around a circular form, and you can knock out one in the time it takes to watch a single episode. Red, white, green, and yellow thread creates the bold graphic look, and the matte texture reads modern against glossy baubles. The cost in time is lower than you expect because the pattern builds fast once you establish the center point. Display them among pinecones and white baubles to keep the arrangement crisp rather than busy.
Rustic Cinnamon Stick and Natural Element Ornaments
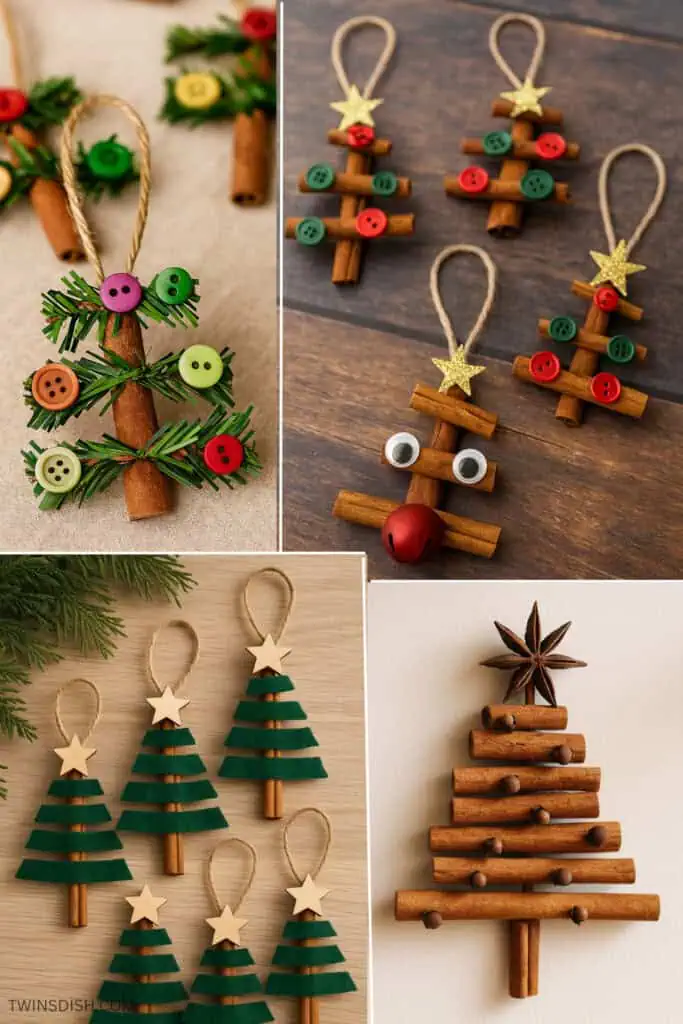
These cinnamon stick Christmas ornaments smell like the season before you even see them. Bundles of cinnamon sticks, pine sprigs, and star anise tied with twine deliver a natural palette of green, red, brown, and gold that does not need a single artificial color to feel festive. The scent is the real payoff here: warm and spicy, the kind that makes a room feel like December even if the weather outside says otherwise. Button accents add a homespun detail without fuss. Just keep them away from damp storage or the cinnamon will lose its punch before next year.
Natural Honeycomb Ornaments with Wood Beads
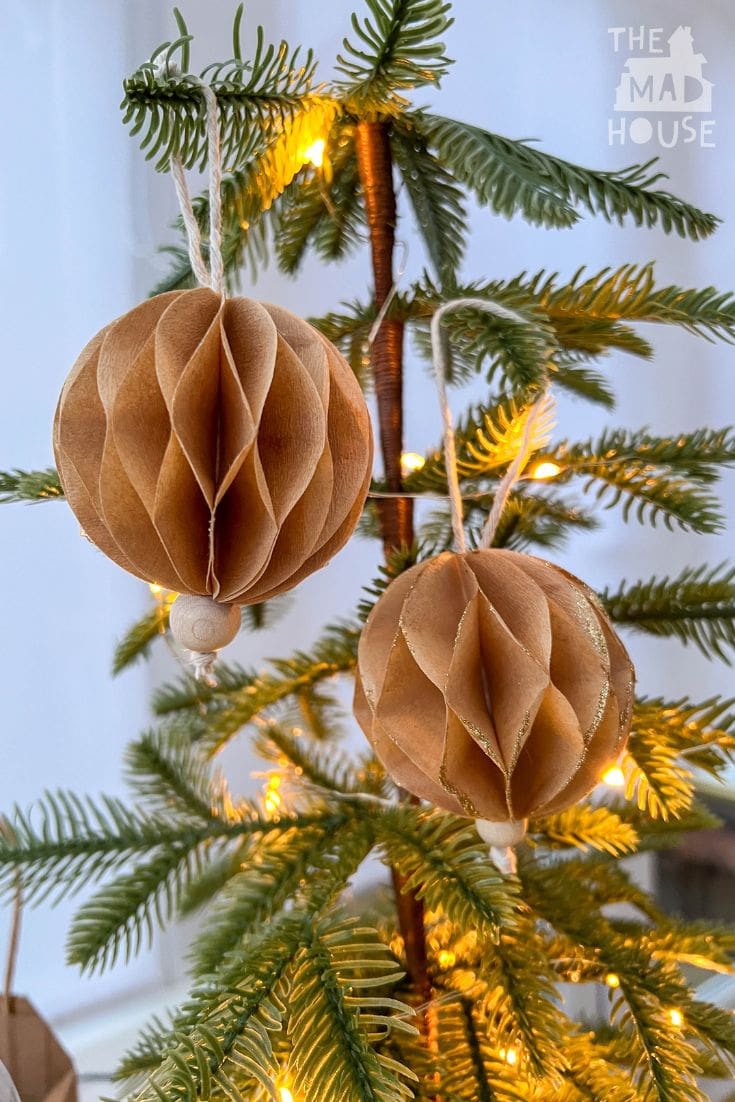
The geometry of these natural paper honeycomb ornaments is precise enough to catch your eye but soft enough to fit a natural tree. Brown and gold paper accordions into the honeycomb shape, and a natural wood bead at the top and bottom gives the ornament a tactile finish that straight paper never has. The twine hanger keeps the look consistent. Warm string lights transform the paper from flat to glowing, and the subtle gold glitter catches the light without looking like a craft project. Style mode here means the honeycomb form is the hero element, so pair it with simple greenery and skip metallic accents that would compete with the wood bead finish.
Retro Whimsical Honeycomb Ornaments in Mint Green and Orange
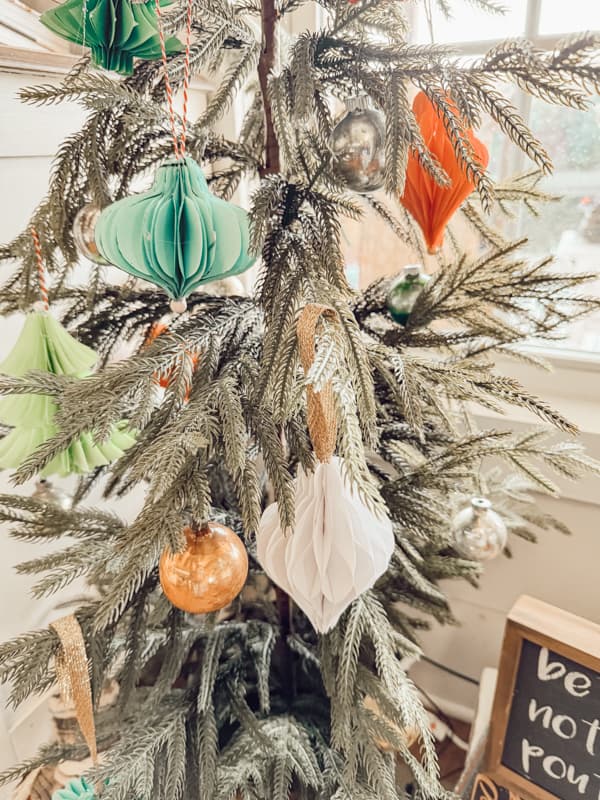
Why do the best color combinations always come from decades you did not live through? Mint green and orange with gold accents make these retro honeycomb Christmas ornaments feel like a vintage find, even when you just folded them yourself. The geometric paper construction gives each ornament a clean silhouette that the retro palette keeps from feeling saccharine. Metallic and glass baubles in gold and clear provide texture contrast without stealing the show. To keep the retro vibe intact, stick to the mint and orange as the dominant colors and let the gold act as a thin accent rather than a third equal player.
Elegant Beaded Teardrop Ornaments with Crystal Accents
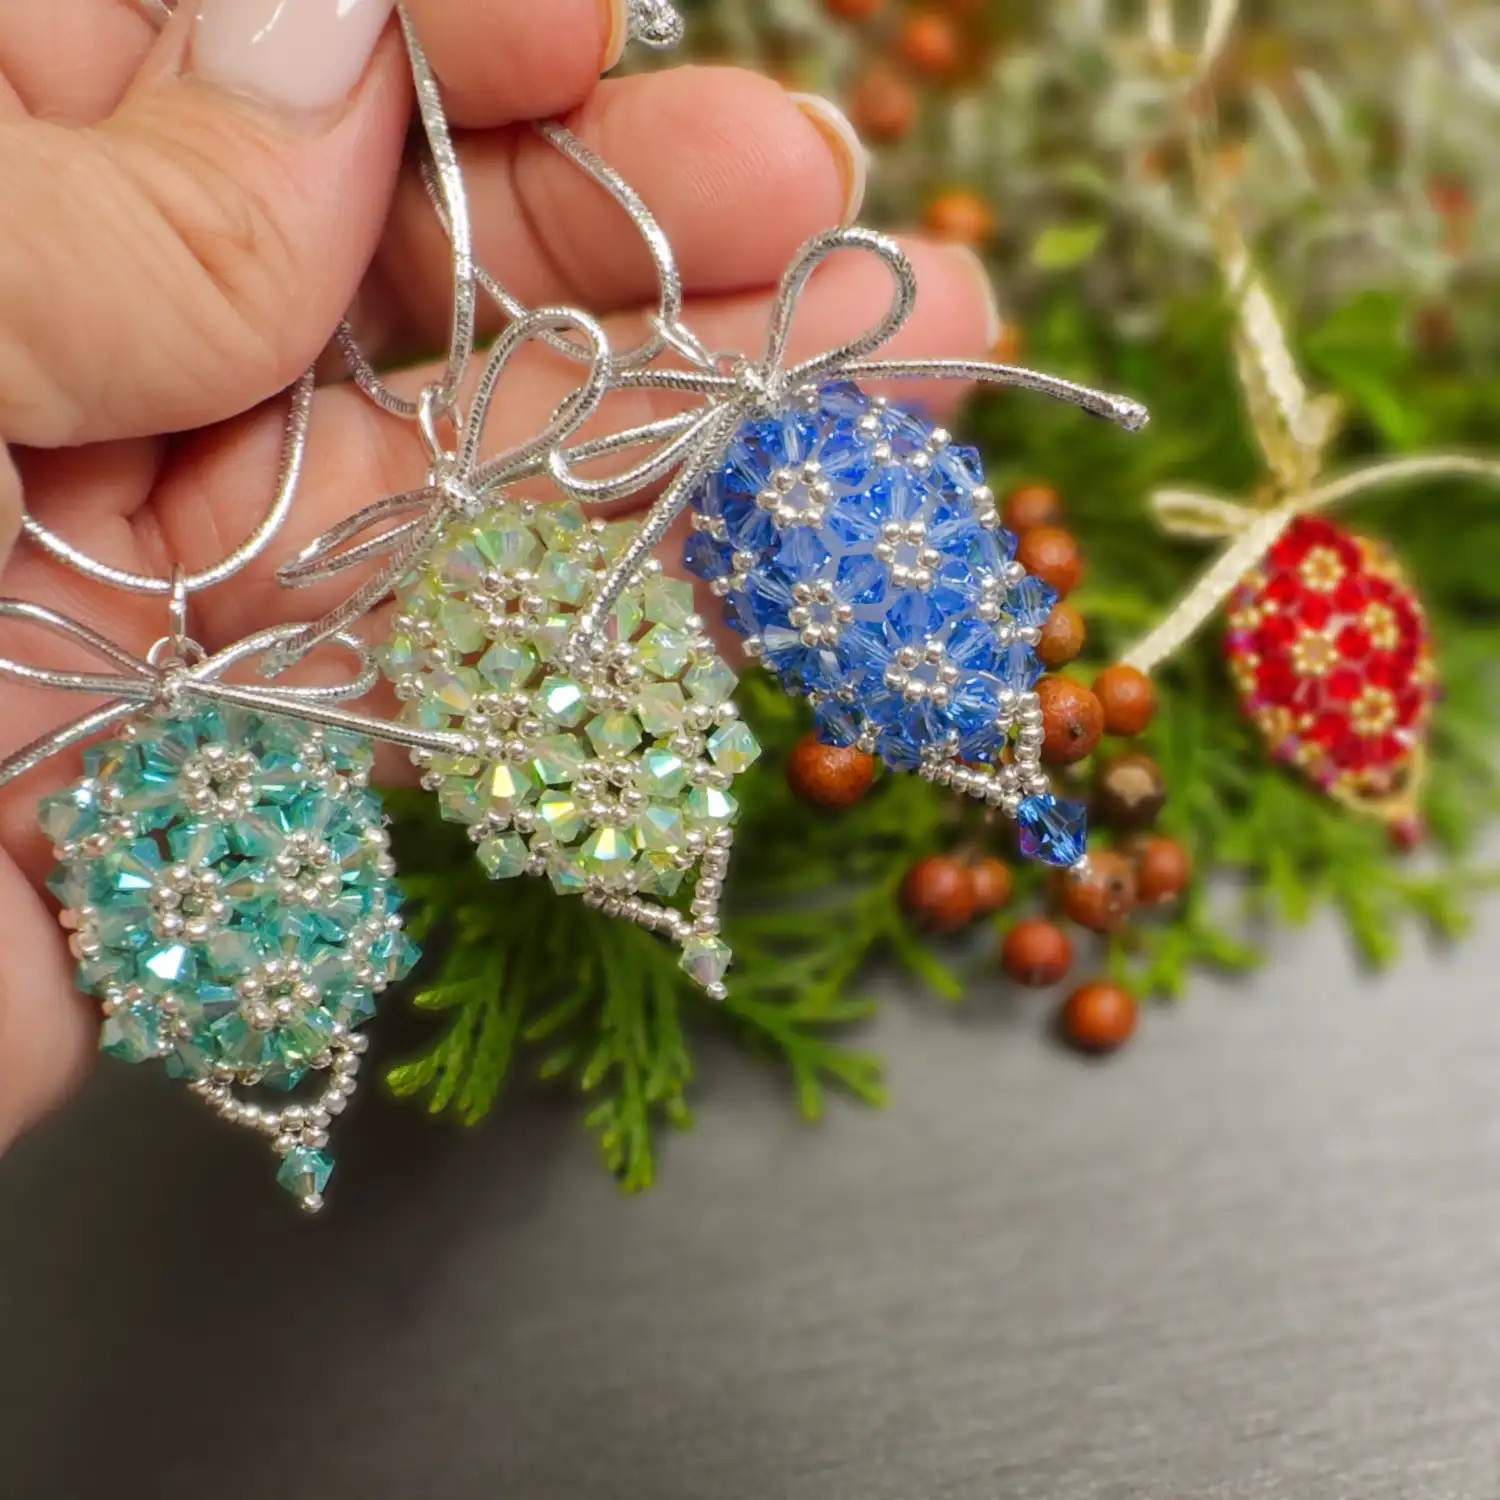
I’ll admit I was skeptical about beaded ornaments feeling too fussy for a tree that already has enough going on. But these teardrop shapes, worked in blue, green, red, and gold with metallic thread and tiny crystals, manage to sparkle without screaming for attention. The palette keeps the intricate beadwork cohesive, so the shimmer reads as deliberate rather than scattered. Held against a backdrop of greenery, they catch natural light in a way that feels festive but not overdone. For anyone looking to add a refined touch without going full glitter bomb, these are a smart bet.
Cottage-Style Mini Canvas Ornaments with Woodland Scenes
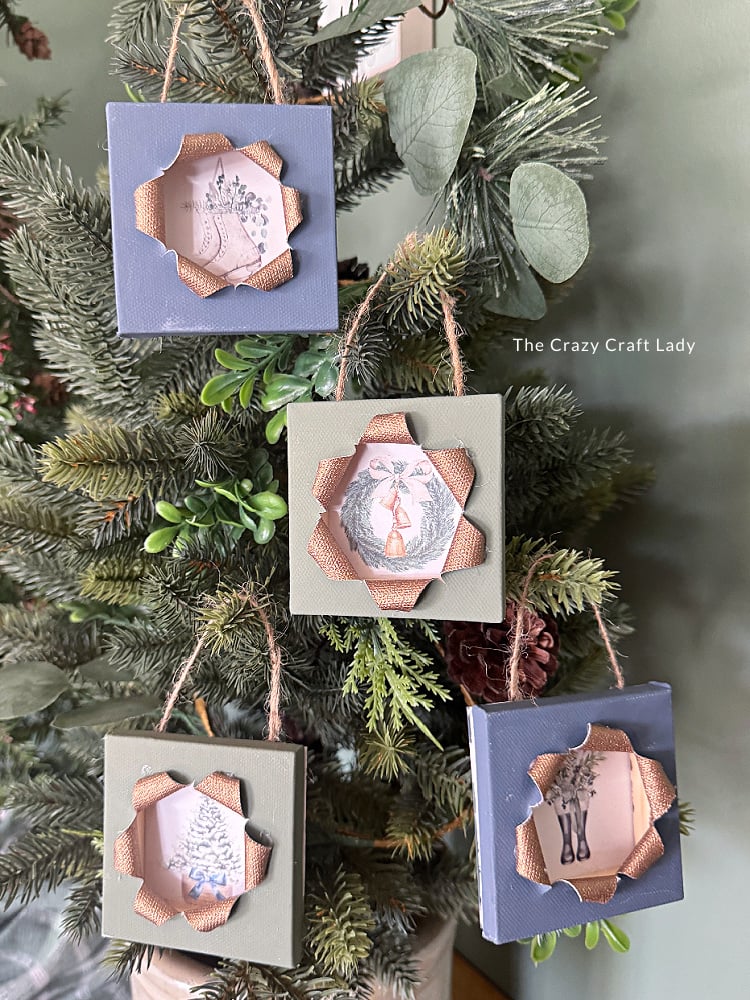
A tiny framed woodland scene hangs among the branches, its sage green and dusty blue tones softening the tree’s overall look. The miniature canvas is wrapped with ribbon and burlap, with a blush pink accent that keeps it from feeling too muted. Gold thread catches the soft daylight, adding a subtle glow without overwhelming the quiet cottage feel.
These ornaments work best when you cluster a few on one section of the tree rather than scattering them evenly. That grouping creates a vignette that draws the eye, letting the intricate paper and canvas details shine. The mix of textures—smooth ribbon, rough burlap, painted canvas—adds depth without competing with the tree’s lights.
Whimsical Felt Tree Ornaments with Smiling Faces
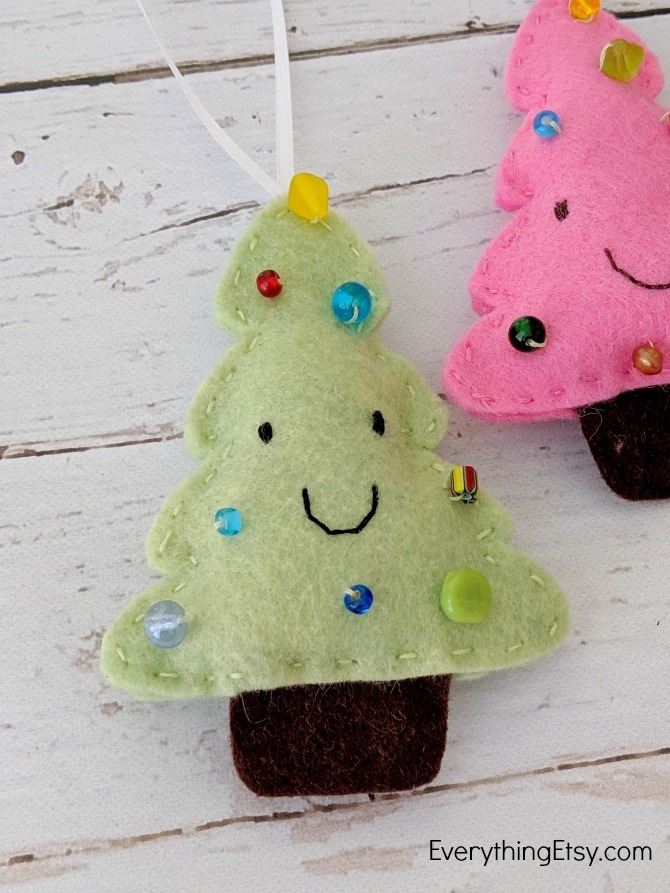
The first time I saw a felt tree with a smiling face, I actually laughed out loud. This light green ornament, dotted with pink, blue, and yellow beads and stitched with embroidery floss, sits on a wooden surface that lets its personality pop. The beaded decorations give it a playful weight, and the smile is simple enough to stitch yourself without needing advanced skills. Felt is forgiving for beginners—it doesn’t fray, and the soft texture makes the cheerful face feel almost alive.
Rustic Gnome Ornaments from Terracotta Pots
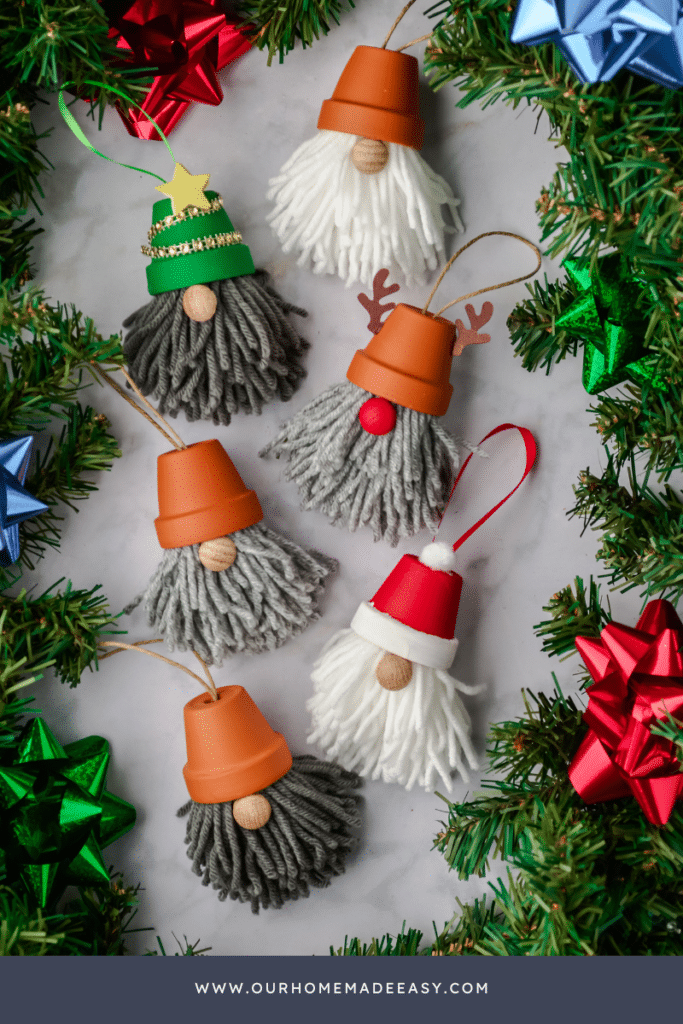
The biggest mistake with DIY gnome Christmas ornaments is trying to make them too polished. Rustic charm works best when you let the terracotta pot stay naked, the yarn a little messy, and the wood bead unpainted. Keep your palette to grey, white, red, green, and brown—more than that and the gnome starts looking like a craft store explosion. The dodge: pick one natural material per gnome—wood nose, yarn beard, fabric hat—and stop. Arrange them on a flat surface with some faux greenery, and let the gnome faces be the focal point. That compact size makes them perfect for a mantel or a small tree.
Folk Art Quilted Ornaments with Folded Fabric
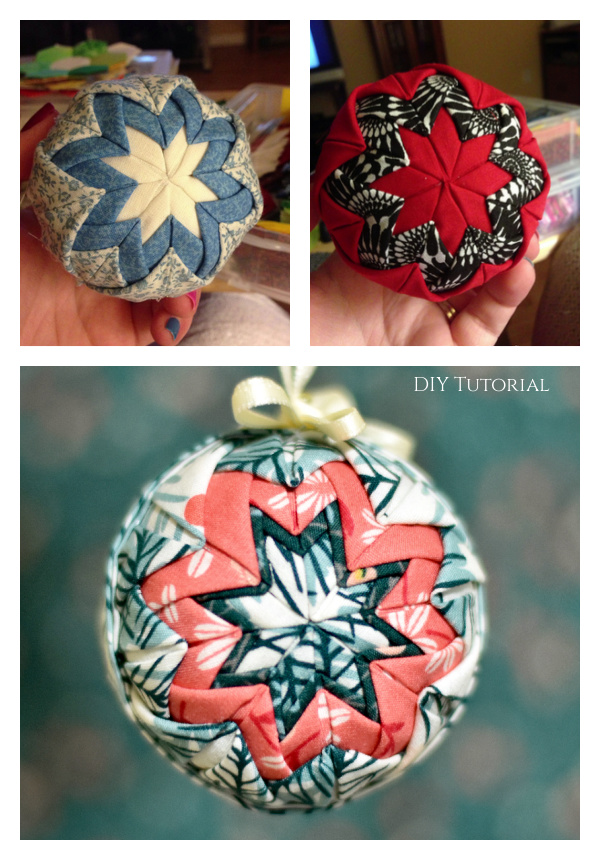
Folk art quilted ornaments look like they take hours of hand sewing, but the no-sew folded fabric technique delivers the same geometric punch in minutes. The difference between this and a traditionally sewn patchwork is speed, not quality—you get the same intricate stars and rounds without threading a needle. Traditional sewn ornaments have their appeal, but for volume and consistency, the no-sew folded method wins every time. You can knock out a dozen in an evening. That palette of blue, white, red, black, and coral is what keeps them from feeling like grandma’s leftovers. The black grounds the pop colors, and the coral adds a modern twist. Stick to cotton fabric and thin batting; any thicker and the folds get bulky. Arrange them in clusters on a flat crafting surface to show off the patterns, then hang them on a tree or string them as a garland. The geometric shapes hold up well even without stitching.
Traditional Gingerbread Man and Woman Ornaments
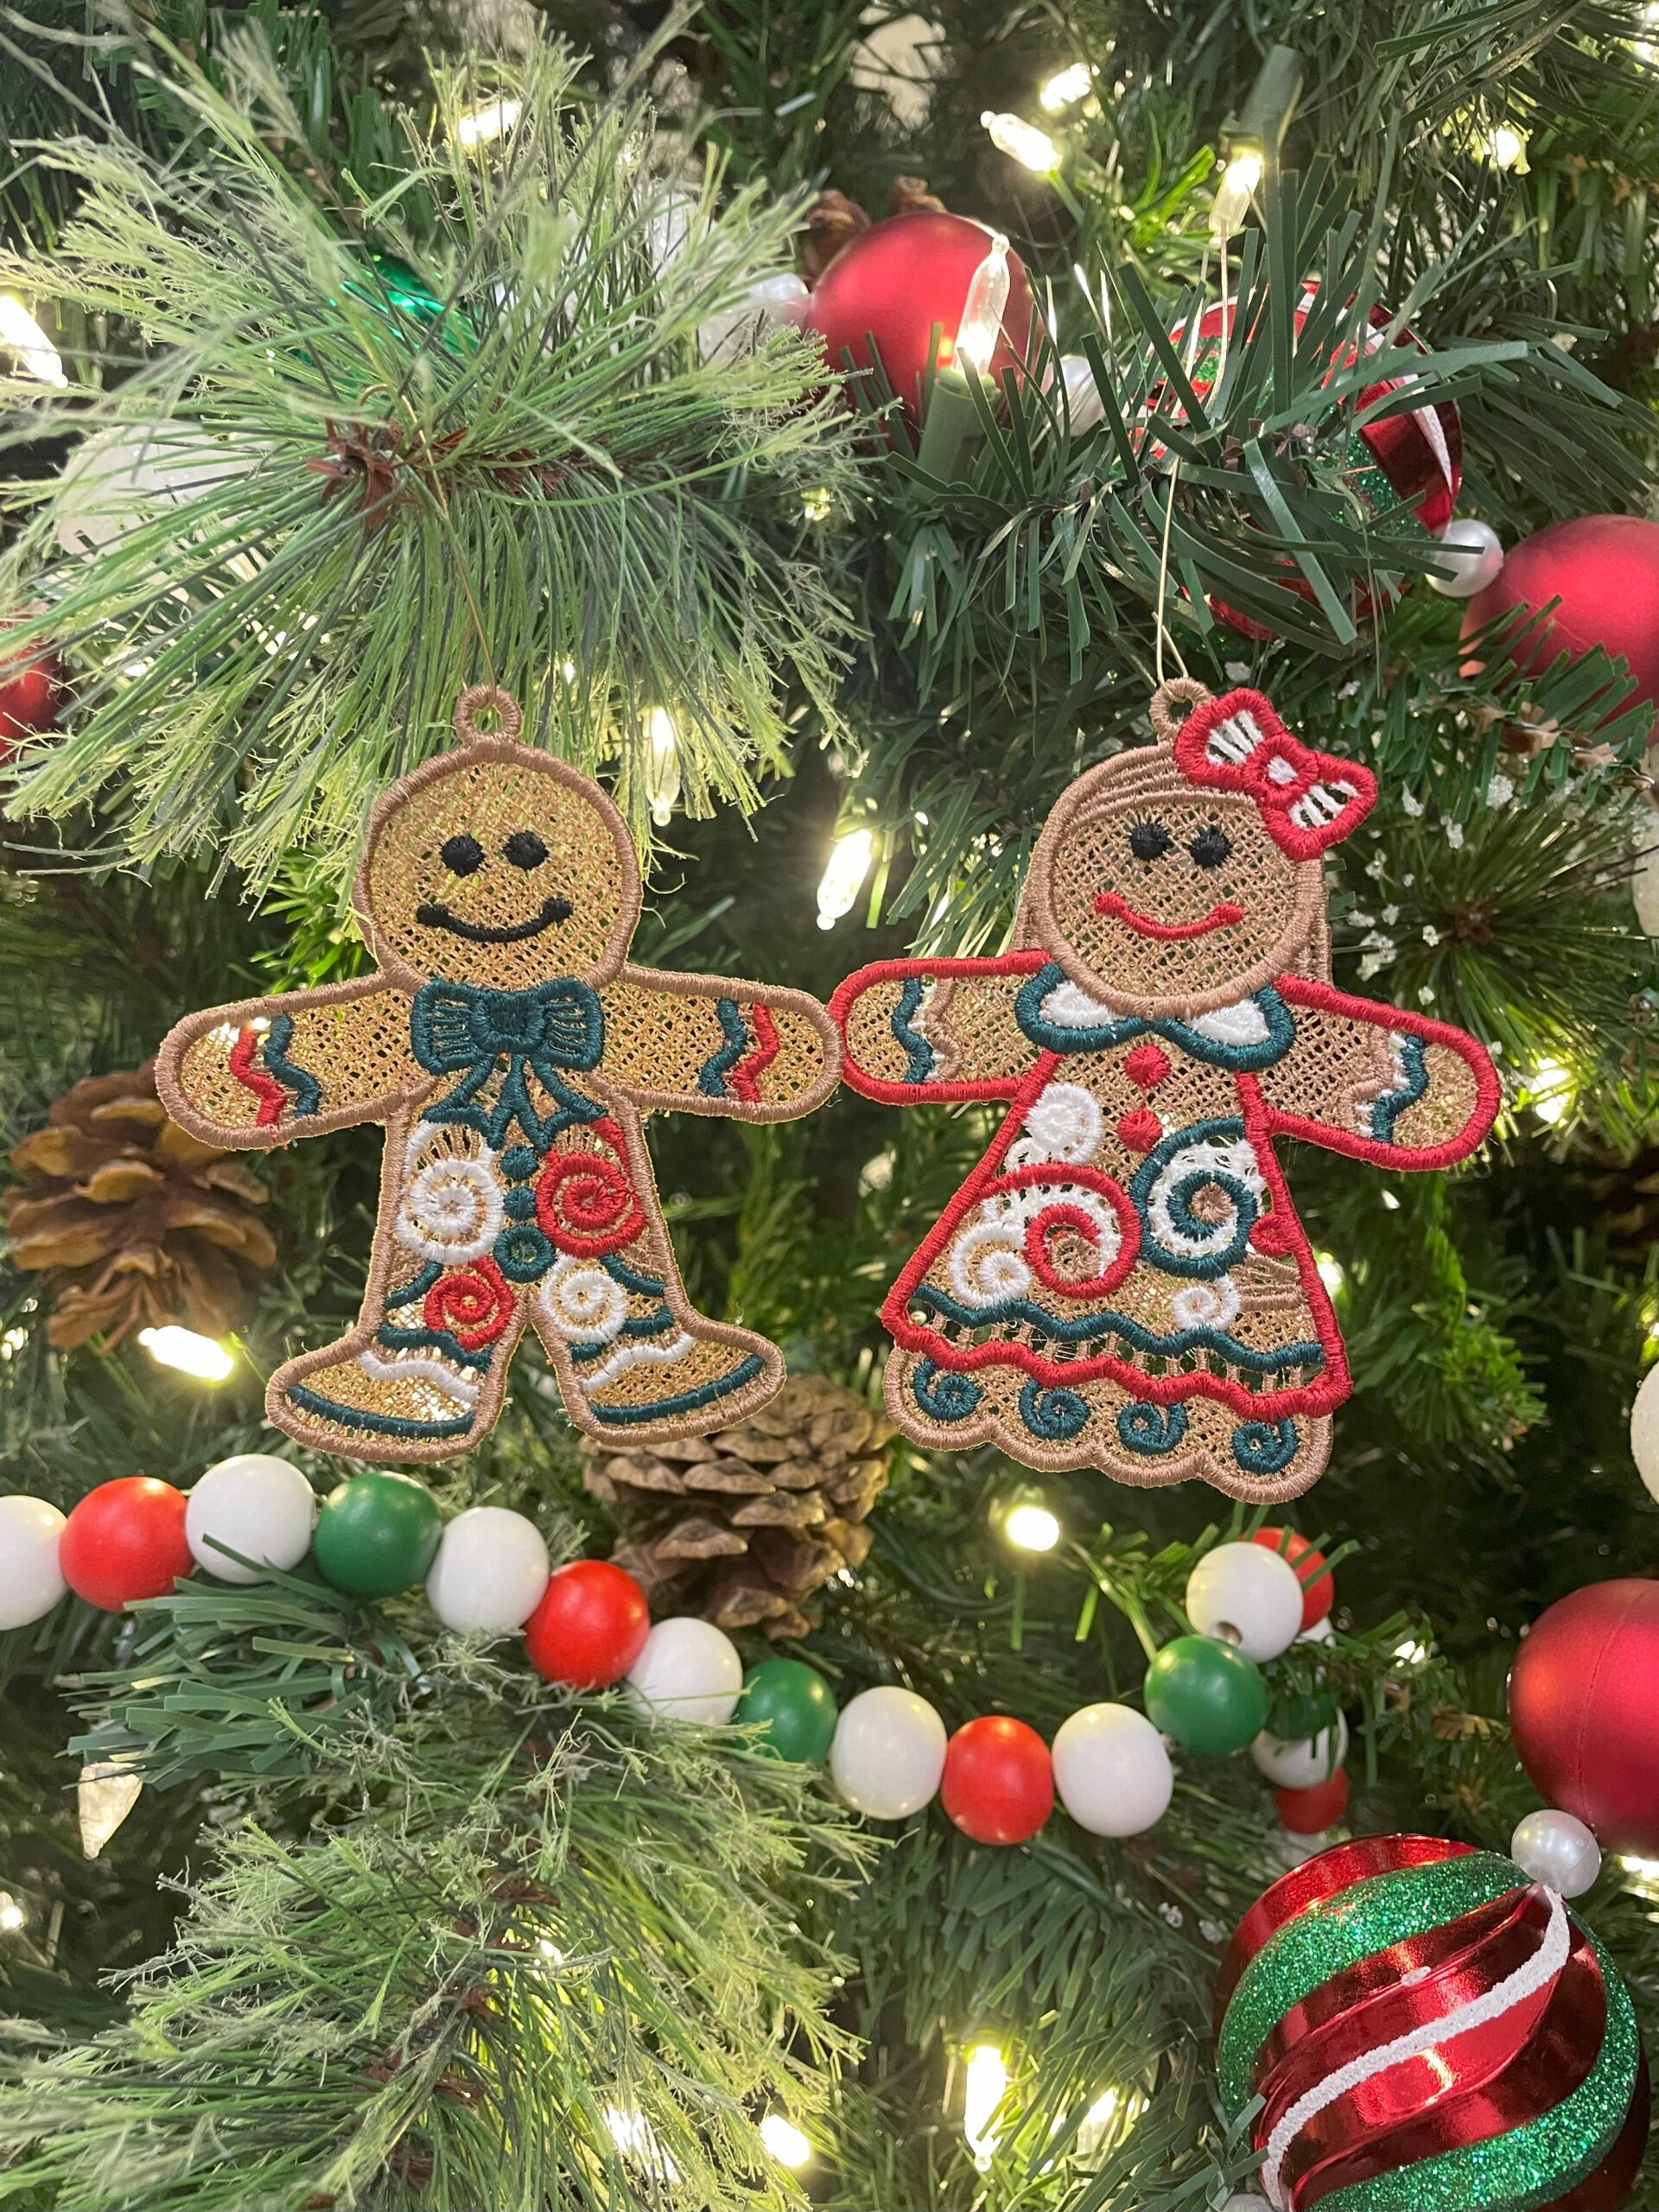
Have you ever hung an ornament that instantly made your tree feel like home? That is the power of classic gingerbread Christmas ornaments. These little guys, with their simple painted smiles, anchor the whole tree in tradition. When you pair them with beaded garlands and warm string lights, the whole room relaxes. Layout tip: cluster these ornaments together near the center of the tree so their red and white pops against the green. It creates a focal point your eye finds naturally, no rearranging needed.
Delicate Paper Christmas Ornaments with Floral Designs
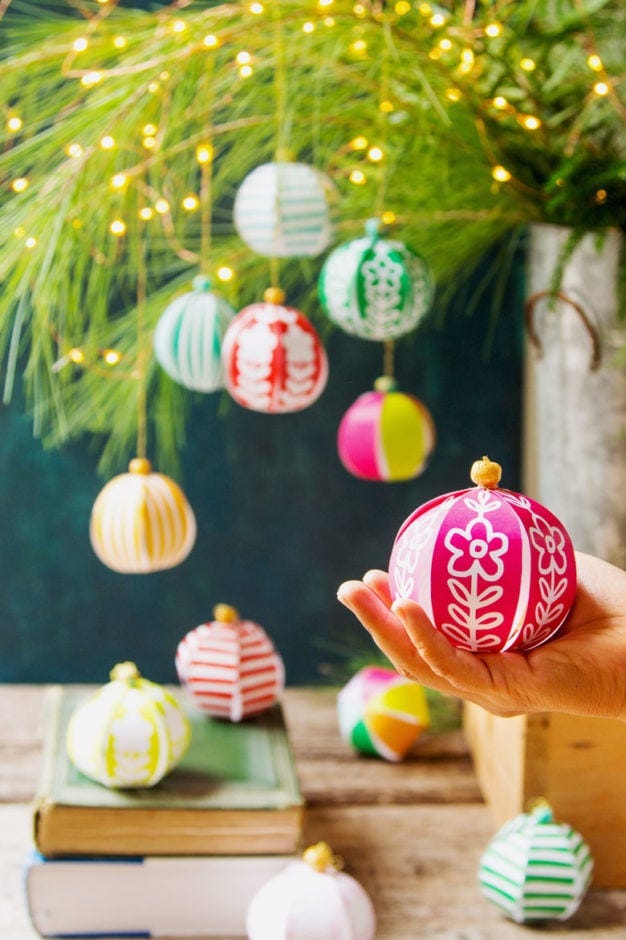
I will admit, I was skeptical paper ornaments would last through a party. The good news is, these floral paper Christmas ornaments hold up better than you think. The key is the material itself — a sturdy cardstock with a matte finish keeps its shape and resists tearing. Scatter them on pine branches and wooden surfaces, not just the tree, and they add a soft, garden-like touch to the room. Style mode: this look works because the floral pattern dominates the palette. The moment you add too many solids or metallic accents, the delicate feel breaks. Keep the ratio about 70 percent paper to everything else.
Rustic Recycled Light Bulb Ornaments
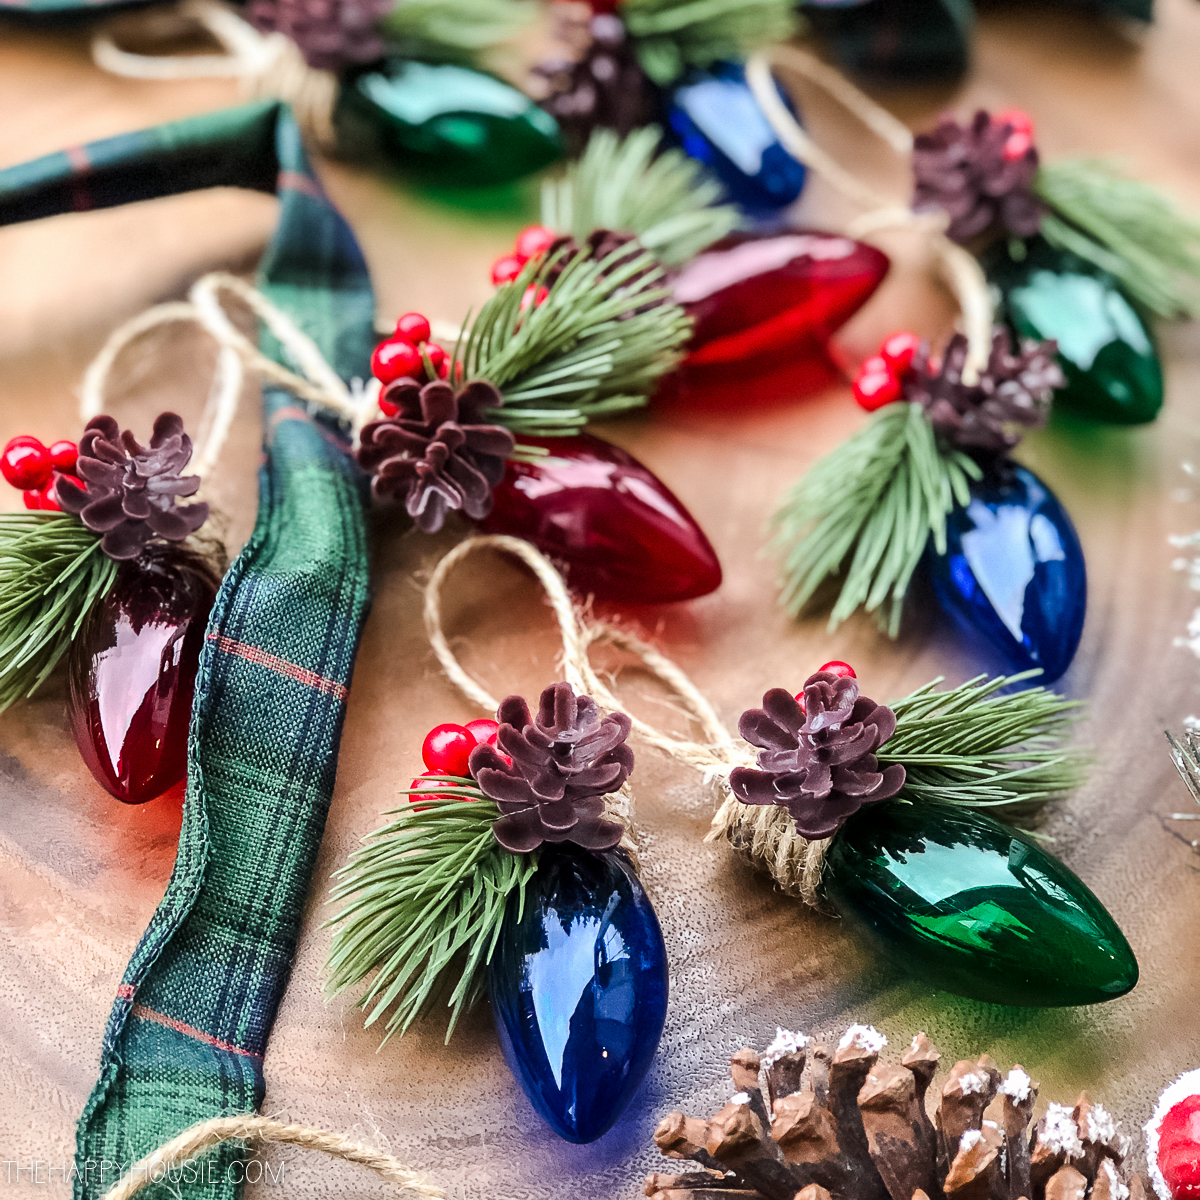
Imagine wrapping twine around an old light bulb and realizing it looks better than anything you could buy. That is the upfront cost here — a few hours and a steady hand. Recycled light bulb Christmas ornaments ask you to work slowly, threading pinecones and greenery into the twine until the bulb disappears into a small rustic bundle. The time investment is real, but the payoff is a set of ornaments that cost nothing in materials and look entirely your own. Upkeep note: store these in a box with acid-free tissue. The twine will hold its color, and the pinecones will not shed all over your other ornaments.
Hand-Painted Wood Slice Ornaments
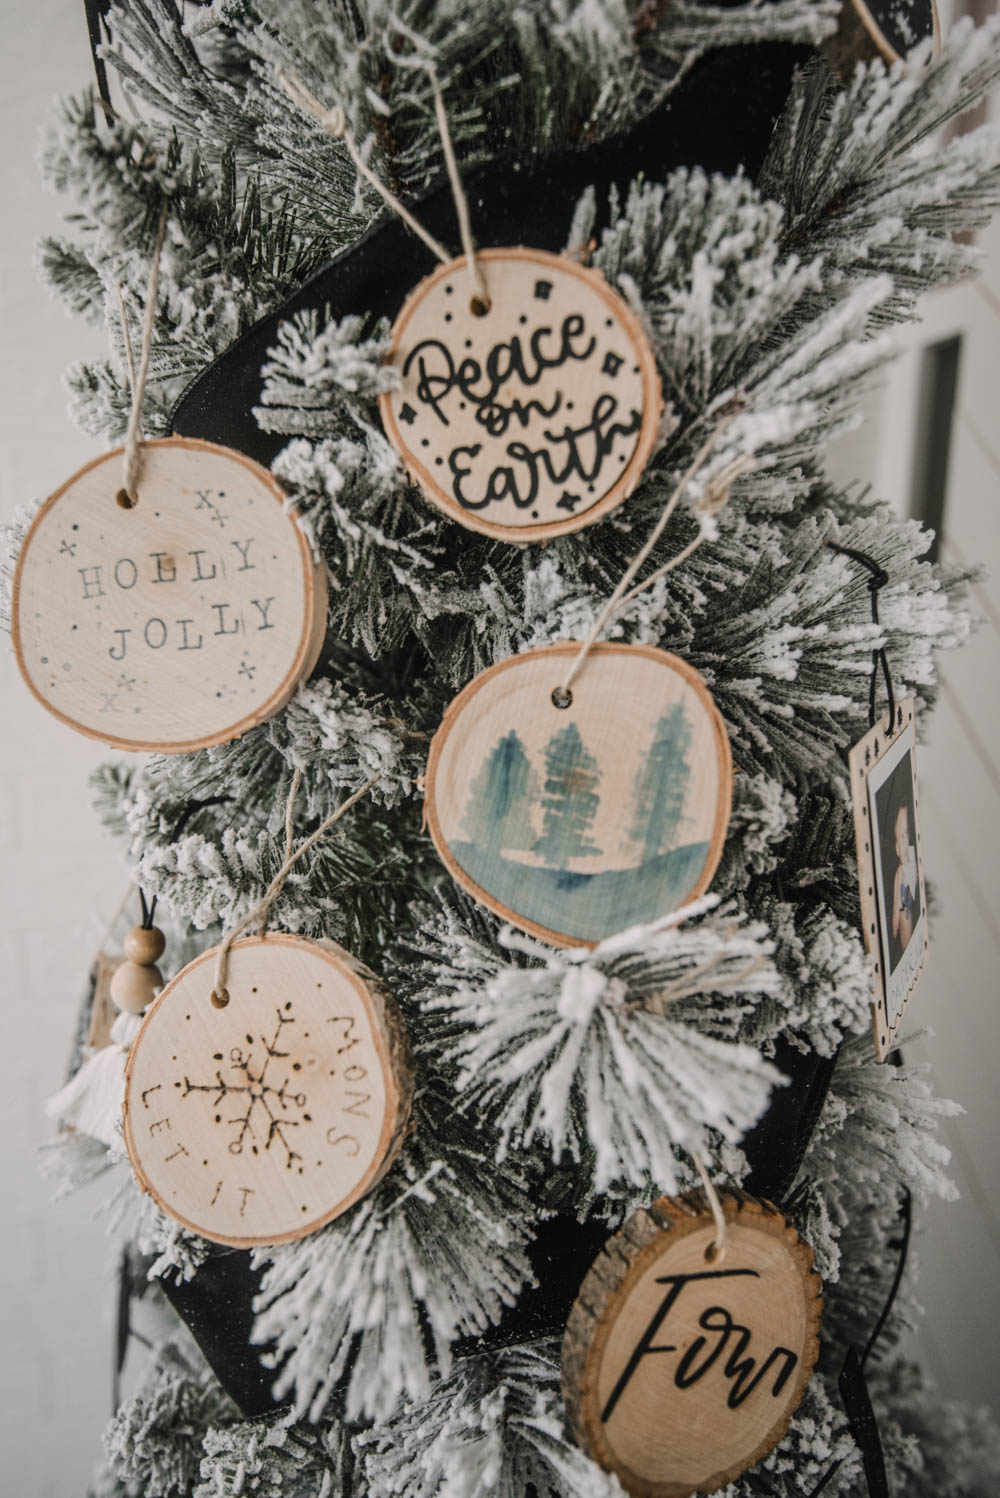
There is something immediately grounding about a wood slice ornament. These painted wood slice Christmas ornaments feel like they belong to the season in a way plastic never does. The natural wood grain peeks through the hand-painted letters, keeping even the boldest black script from looking harsh. Style mode: the warmth of the wood is what defines this look. If you clear-coat the surface, you lose that matte, organic feel. The ratio should lean heavily on the natural surface — let the paint cover no more than half the slice. That is what keeps it rustic rather than just crafty.
Traditional Hand-Painted Spherical Ornaments
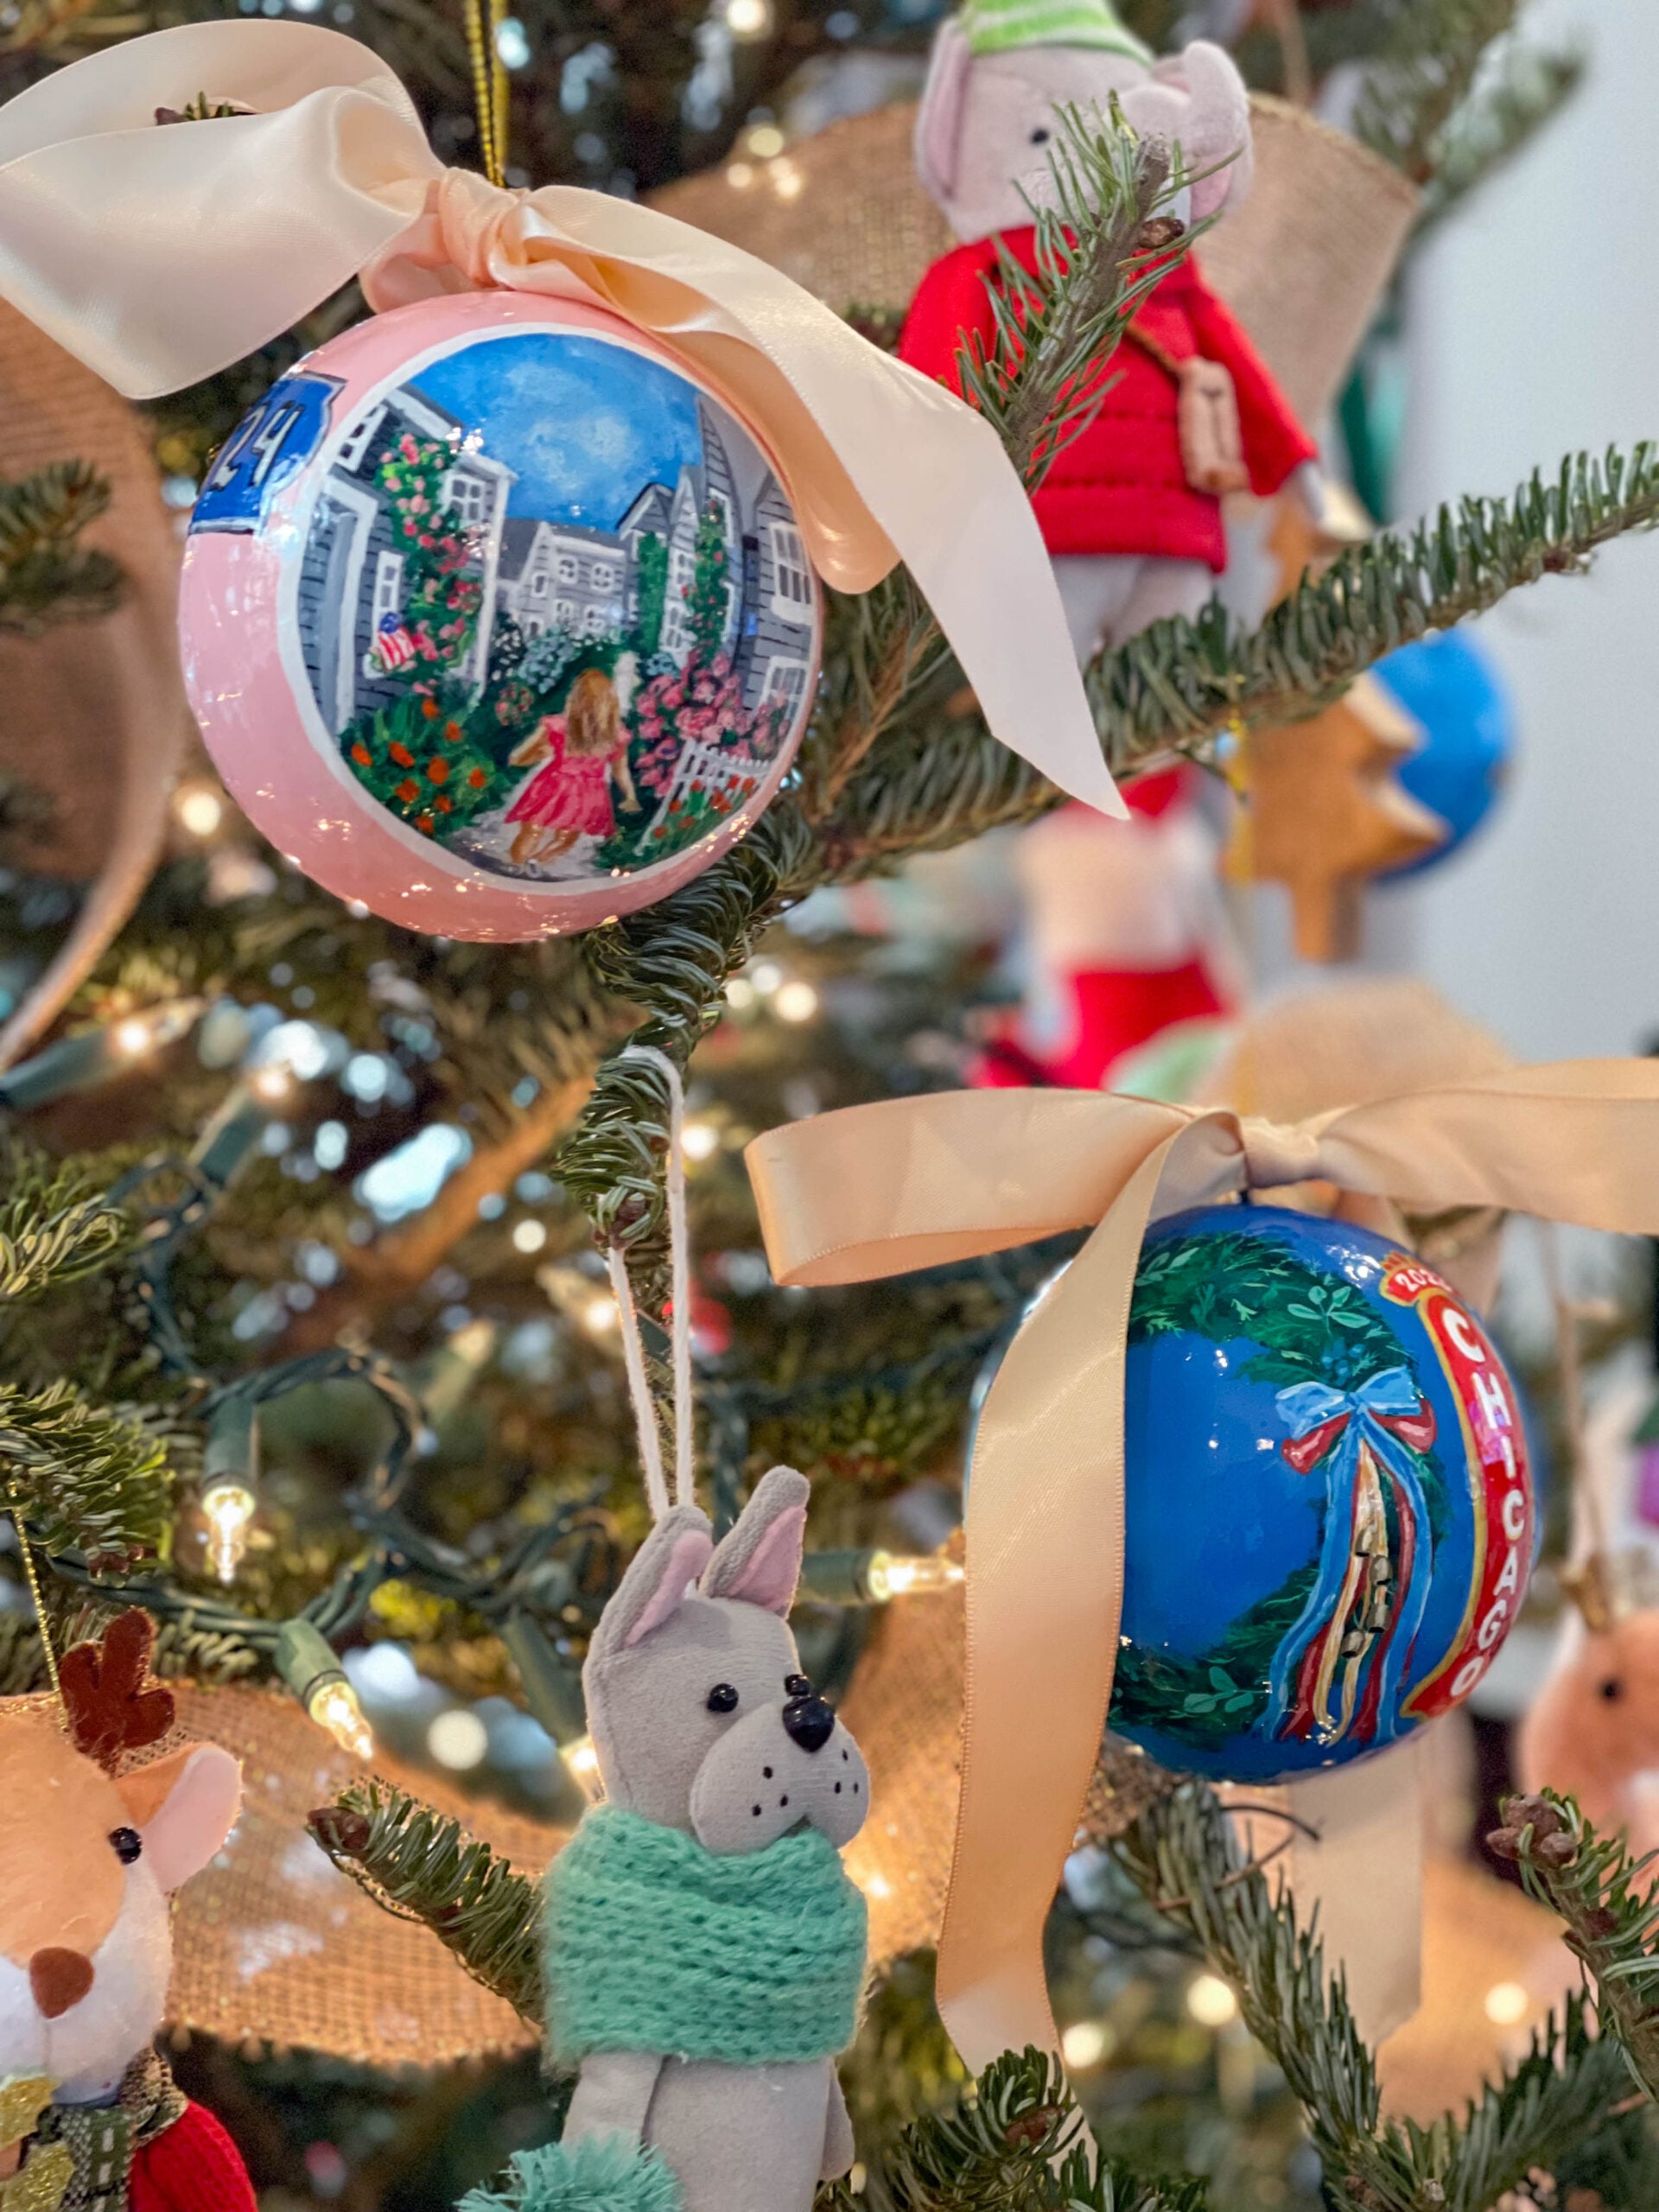
These ornaments are a masterclass in restraint. Hand-painted Christmas ornaments of this quality rely on a simple technique: thin layers of paint built up slowly. The result is a soft, dimensional scene that feels painted from the inside out rather than slapped on the surface. Each ornament becomes a tiny window into a winter landscape. Lighting matters here — ambient Christmas lights, not direct overhead fixtures, will make the painted details glow without washing them out. Renting and cannot switch the lights? Drape battery-operated fairy lights directly over the branches holding these spheres. Same effect, no wiring.
Vintage Diorama Ornament with Miniature Winter Scene
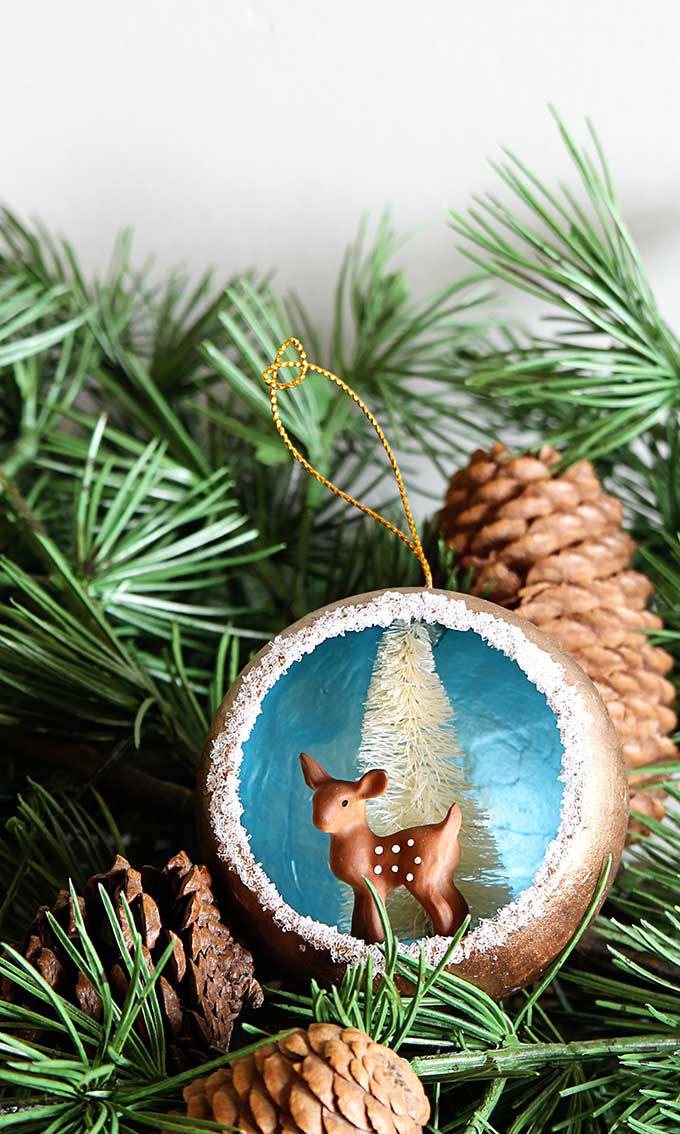
A clear round ornament holds a tiny winter world, and the charm comes from what sits inside rather than the shine on the outside. A small deer figurine stands beside a miniature tree, while glitter and faux snow settle around the base to read as fresh snowfall. The blue and white accents carry the cold tones, while gold and brown keep the scene from feeling stark. Building a diorama Christmas ornament DIY starts with choosing the focal point first — the deer, the tree, or both — and then arranging the filler around it so nothing crowds the main figure. Soft artificial light from nearby tree lights catches the glitter and gives the interior depth without washing out the miniature.
The palette principle matters here: gold, blue, white, and brown work because the warm metals and woods balance the cool whites and blues, so the ornament feels festive rather than icy. Pine sprigs tucked inside add texture without taking over the scene. Keep the arrangement sparse — a cluttered interior reads as messy, but a single animal with one tree and a dusting of snow reads as intentional. Because the ornament is compact, scale is everything; every element should sit comfortably within the round frame with room to spare.
Rustic Twine Ball Ornament with Natural Accents
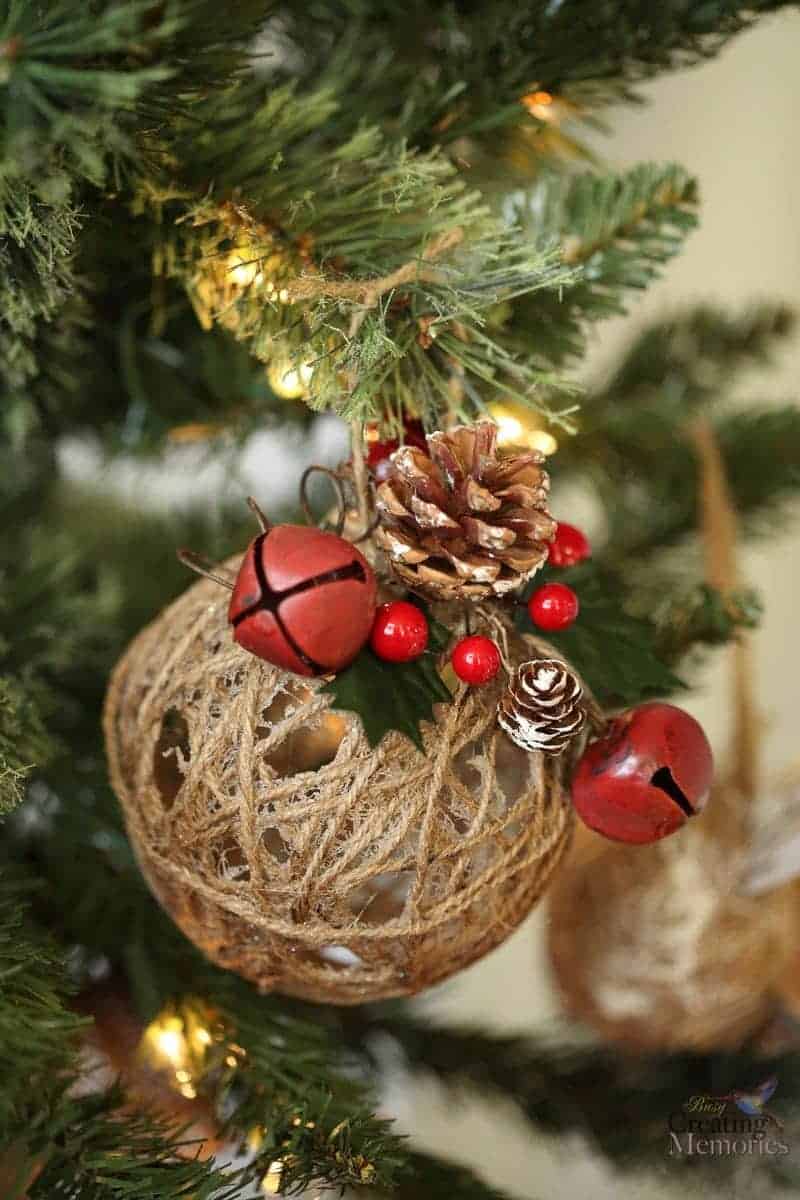
Is a twine ball Christmas ornament really worth the wrap-around effort, or does it just look like a cat toy waiting to happen? The honest answer is that the texture earns its place. Wrapped twine gives the surface a warm, tactile grip, and the pinecone, red berries, and faux greenery break up the monotony so it reads as intentional decor rather than a craft fail. The small red bells add a jingle that makes the tree feel alive, and the brown, red, green, and gold palette keeps the whole thing grounded and rustic.
Cottage-Style Honeycomb Ornament from Cupcake Liners
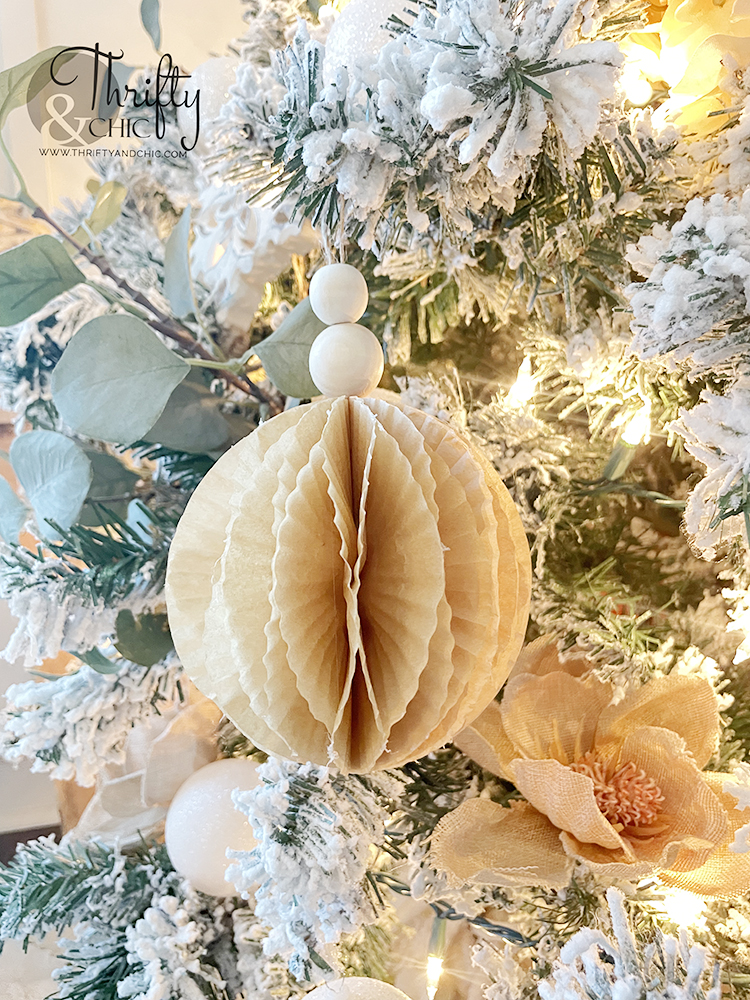
I will admit that I once dismissed honeycomb paper as party decoration territory, but a cupcake liner Christmas ornament on a flocked tree changes my mind. The honeycomb texture creates a soft, dimensional surface that catches daylight and warm fairy lights differently from every angle, and that is the whole trick. The cream and white paper keeps it cottage-clean, while gold accents and wood beads add just enough warmth without tipping into fussy. Eucalyptus greenery tucked around the hanging point softens the transition from ornament to branch. The layout principle is to let the texture be the hero — keep the surrounding palette quiet so the honeycomb pattern does the talking.
Final Thoughts
These 23 ornament ideas show that handmade decor is within reach for anyone. From painted wood slices to paper angels, each project uses everyday materials and basic craft skills. The real takeaway? Your tree becomes a collection of memories, not just store-bought baubles. Pick a style that speaks to you, gather a few supplies, and enjoy the process. The ornaments you make will carry your personal touch for seasons to come.