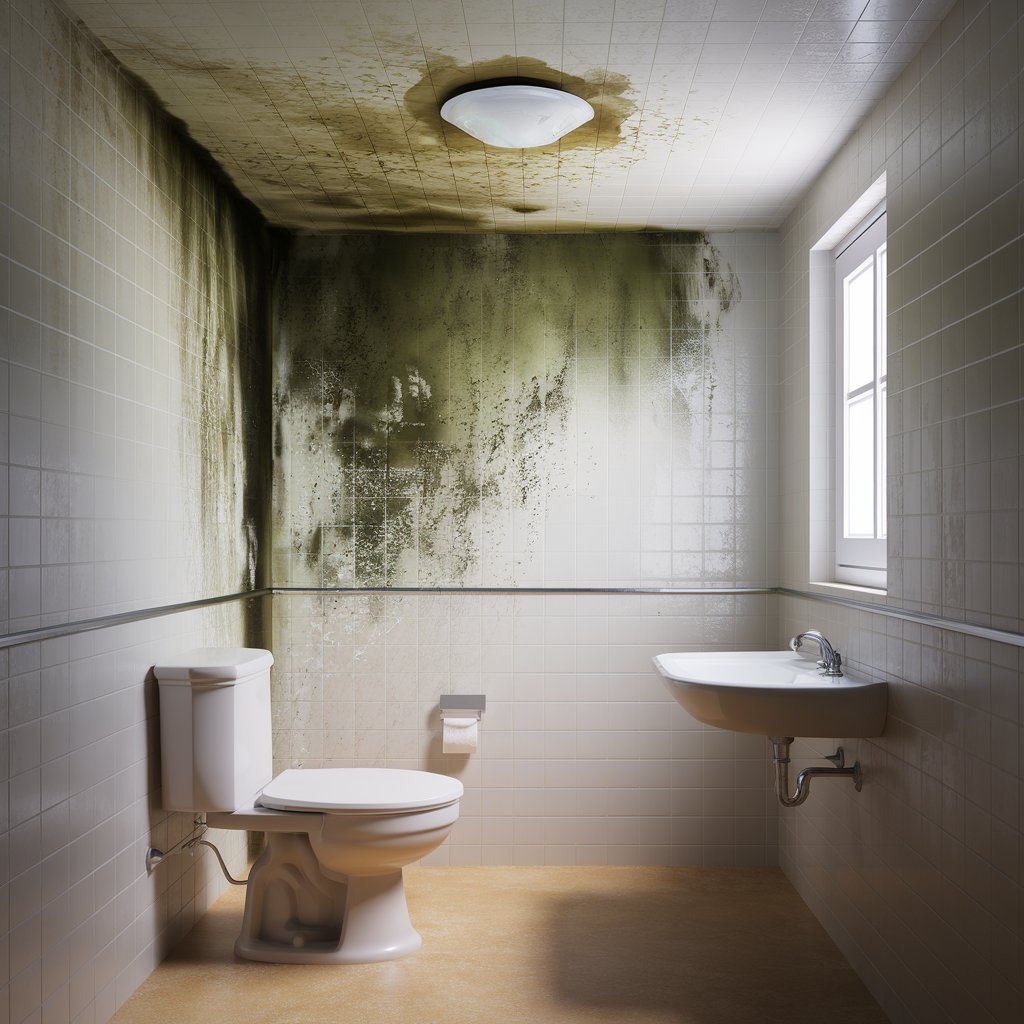
Mould grows in humid environments, and the bathroom is one of the rooms in your house that is affected the most by moisture. Mould can quickly take over your ceiling with the humid air from long, very hot showers, or due to bad air circulation. It can spread and develop dark, unsightly black spots. The real problem with mould is that it is not only about creating unaesthetic and annoying black spots but goes further by provoking allergies, respiratory problems, and even structural damages that can develop over time. This guide helps you to get rid of your bathroom ceiling mould and, more importantly, prevents it from coming back.
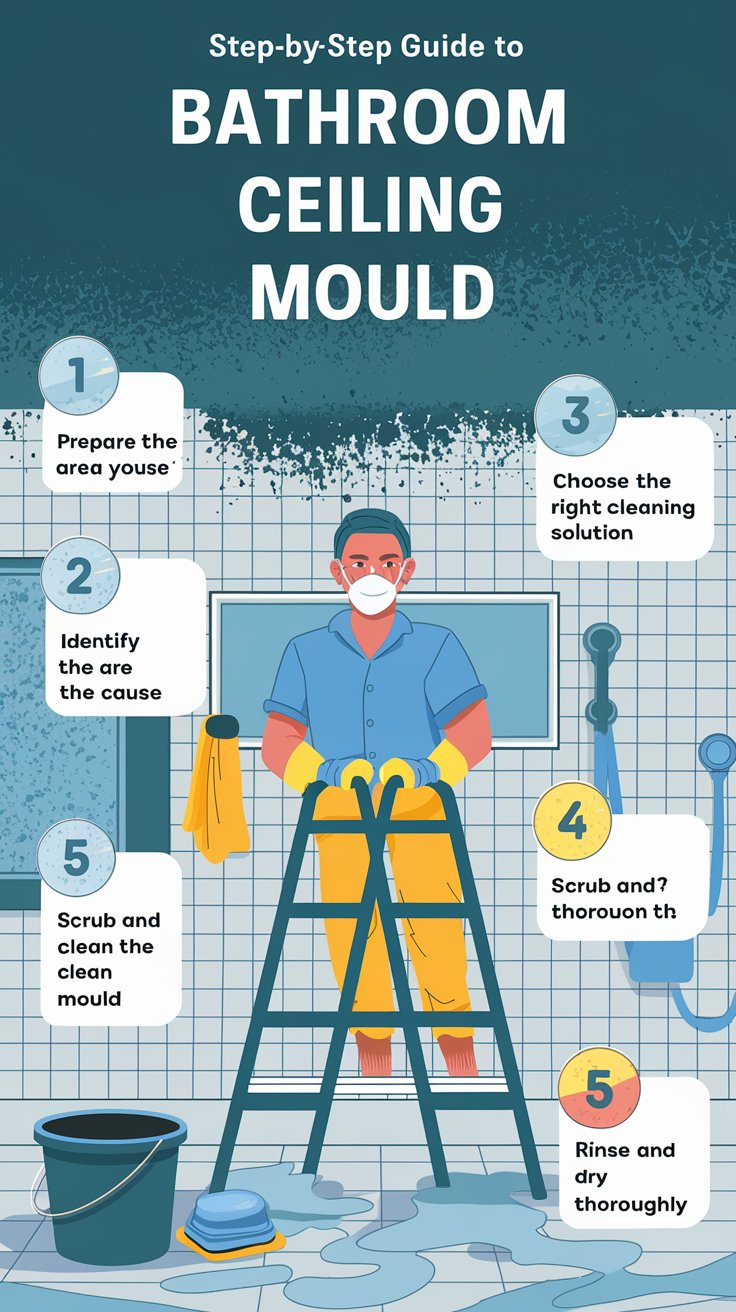
Step-by-Step Guide to Removing Bathroom Ceiling Mould
| Step | Action | Tools Needed | Time Estimate |
|---|---|---|---|
| 1. Prepare the Area | Cover the floor and fixtures, wear protective gear. | Gloves, goggles, mask, plastic sheets | 10 minutes |
| 2. Identify the Cause | Investigate any leaks or ventilation issues causing moisture. | Exhaust fan, dehumidifier | Ongoing |
| 3. Choose a Cleaning Solution | Vinegar-water solution or bleach solution based on mould severity. | Vinegar, bleach, spray bottle, sponge | 15-20 minutes |
| 4. Scrub the Mould | Gently scrub mould with a brush, avoid damaging the ceiling. | Soft-bristled brush, cloth | 10 minutes |
| 5. Rinse and Dry | Wipe down the ceiling, ensure it is thoroughly dry to prevent mould return. | Clean cloth, fan, dehumidifier | 20 minutes |
1. Prepare the Area and Yourself
Before starting the cleaning, protect the house as well as yourself.
- To avoid any falling debris such as cleaning solutions and keep everything clean, you should use plastic sheets or old towels to cover the bathroom floor and fixtures.
- Wearing safety gear such as gloves, goggles, and a mask are to protect against mould spores. Also, open any windows and run fans for proper ventilation. This is a must.
2. Identify the Cause
Mold will not disappear permanently until you find the cause of the problem. This may be a leaking roof, bad ventilation, or even excessive humidity levels.
- Repair the pipes or the roof.
- Use a bathroom fan or buy a dehumidifier to prevent moisture.
3. Choose the Right Cleaning Solution
| Solution | Effectiveness | Best For | Cautions |
|---|---|---|---|
| Vinegar and Water | High for mild mould | Regular cleaning and maintenance | May require longer soaking time |
| Bleach Solution | High for stubborn mould | Large or persistent mould areas | Use in well-ventilated areas, can damage surfaces |
| Commercial Removers | Varies by product | Heavy-duty mould cases | Follow product instructions closely |
The cleaning agent you use is determined by the severity of the growth. Below are some effective methods:
- Vinegar and Water: Equal portions of white vinegar and water are mixed in a spray bottle. Spray generously on the area with mould, let it stay for 15-20 minutes, then wipe it with a damp cloth.
- Bleach Solution: For more pesky mold infestations, you should make a solution of 1 part bleach to 3 parts water and apply it to the area. Let it sit for 10-15 minutes before brushing with the help of a soft brush.
- Commercial Mould Remover: These are the strongest cleaner available for stubborn mold that is being worn down by the cleaner. Be sure to read the instructions provided by the manufacturer.
4. Scrub and Clean the Mould
With the solvent in place, you wipe off the slime with a soft brush or a sponge. For difficult-to-reach places, use a toothbrush. Remember that scrubbing too hard will result in the board of the roof getting damaged.
5. Rinse and Dry Thoroughly
Once the scrubbing part is completed, you can use a damp cloth to wipe the area and thus remove any cleaning solution and the remnants of the mould. The ceiling must be dried completely because if not dried there are chances of regrowth of the mould.
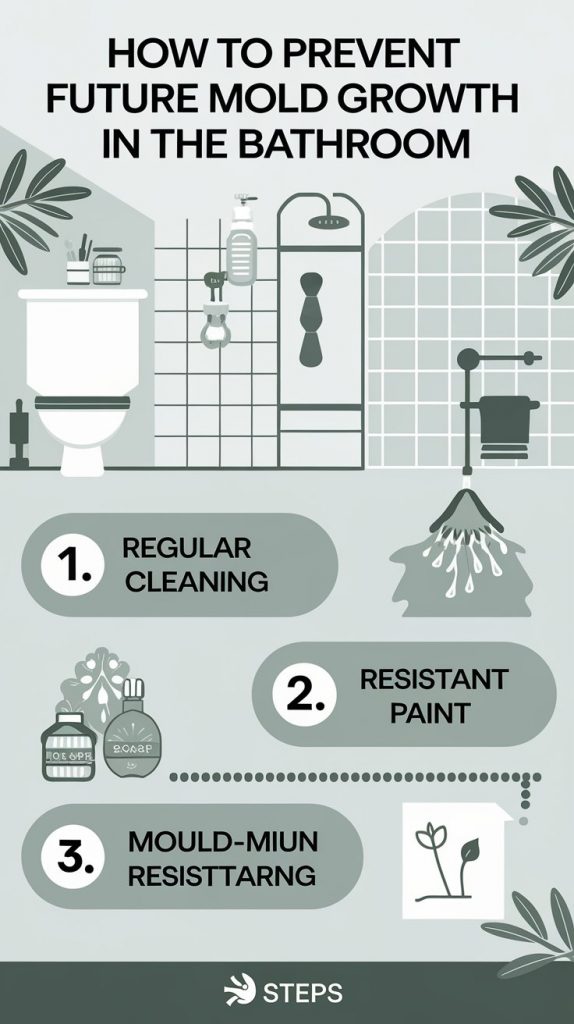
Preventing Future Mould Growth
| Method | Description | Tools Needed |
|---|---|---|
| Ventilation | Install or use exhaust fans and dehumidifiers to reduce moisture | Exhaust fan, dehumidifier |
| Regular Cleaning | Wipe down ceilings and walls regularly to prevent moisture buildup | Microfiber cloth |
| Mould-Resistant Paint | Apply mould-resistant primer and paint on ceilings | Mould-resistant paint, primer |
| Essential Oils | Use natural oils like tea tree or eucalyptus to inhibit mould growth | Tea tree oil, eucalyptus oil |
Prevention to grade is better than cure when dealing with mould. Rendering sure as can be these are done you could you may want everybody to read these words about the to keep it safe:
- Ventilation: Always, make sure your bathroom is ventilation. A fan running during takes showers or opening a window even after the shower will definitely do the trick. Likewise, a fan running during showers or the window is opening after the shower also creates a good continuous ventilation flow for the moisture to escape. You should clean your bathroom at least once a week. (a fan running during showers) This lets the steam escape so that mold does not form on the ceiling and walls.
- Regular Cleaning: Get a tip about everyday use before you start to clean. Once in a while, the conditions of the walls and the ceiling are changed due to the condensation of the extra humidity. So, people can be seen cleaning the house at frequent times. In addition, one is known for cleaning the bathroom after every shower regularly for many months. Lastly, make sure to look for cleaning products that can kill mold. One of the best ways to prevent mold from growing on the ceiling is to clean it.
- Mould-Resistant Paint: Furthermore, after wiping down the ceiling, apply mold resistant primer to the ceiling. Use a mold-resistant paint. Then, I will paint the surface with a mold-resistant paint.
- Essential Oils: It is established that tea tree oil and eucalyptus oil both contain natural antimicrobial and antifungal elements that should stop the mould growth. Additionally, the diffusion of the oil from the plant has been reported for the essential oil is such that it could be used to replace natural tree oil for the same purpose to recondition with the same conditions.
Conclusion
Mold on your bathroom walls can be a recurring problem if you don’t do it right the first time. Setting the scene and adopting a suitable approach to getting the job done plus, using preventions, you will see the cleanliness of the affected area of your house strengthen and the possibility of the mould spreading decrease. Dont forget, the only solution is the elimination of the root causes that bring moisture if you really want to prevent any future epidemic. If the mold is covering a big section of the bathroom or keeps coming back, then you should contact a professional for help.
FAQs
1. How often should I clean my bathroom ceiling to prevent mould?
The trick is to clean your bathroom ceiling at intervals of a few months and immediately wipe down moistened areas after showers to avoid any mould outbreaks occurring.
2. Can vinegar alone remove all types of mould?
Vinegar does its job to a degree in small area conditions but to some degree went subjected to a more severe case of mould growth it is advised to use a stronger bleach solution or a commercial product sprouted on the market.
3. Should I repaint my ceiling after removing mould?
Yes, the application of a mould-resistant primer and paint will both act to stop the problem and have a decorative role, especially in places of high moisture.
4. Is it safe to use bleach to remove mold?
Yes, it is. The bleach is a mighty weapon against the pesky fungus, but making sure you apply it in a well-ventilated area and don’t forget about protective gear so that you escape inhaling fumes is essential.
5. What should I do if the mould keeps returning?
If mould keeps appearing again and again it usually implies that some fundamental moisture issues occur, such as bad ventilation or cracks in pipes etc. The best solution is to call an expert in case the problem does not go away on its own.
As a busy real estate agent, I’m always on the go, and keeping my hair looking sharp is essential—especially when meeting clients! The sleek, pulled-back hairstyle mentioned in the article is totally my vibe. It keeps everything out of my face, so I can focus on that pesky mould issue while still looking put-together. Plus, it’s low maintenance and gives off a professional yet approachable look! Seriously, it’s the perfect style to rock when you’re tackling tough chores and then heading straight to a showing.
OMG, I just had to try that hairstyle tip from the article while I was tackling the mould on my bathroom ceiling! Honestly, feeling cute while cleaning really boosted my confidence. Like, who knew a good hair day could make scrubbing away mildew feel kinda fun? It’s all about vibes, right? If you ever feel blah while doing chores, try rocking a new ‘do—totally transforms the experience! You got this!
Hey everyone! So, I just tried this new hairstyle after reading that fab article on tackling mould on the bathroom ceiling. I don’t know how it happened, but I walked out feeling like a million bucks! Seriously, my friends couldn’t stop complimenting my new look! It’s like the hairstyle gave me a boost of confidence. Now, every time I do my bathroom routine, I’m smiling because I feel so good about both my space and my hair. Definitely giving off those happy vibes! Don’t sleep on trying something new, you never know what compliments are waiting for you!